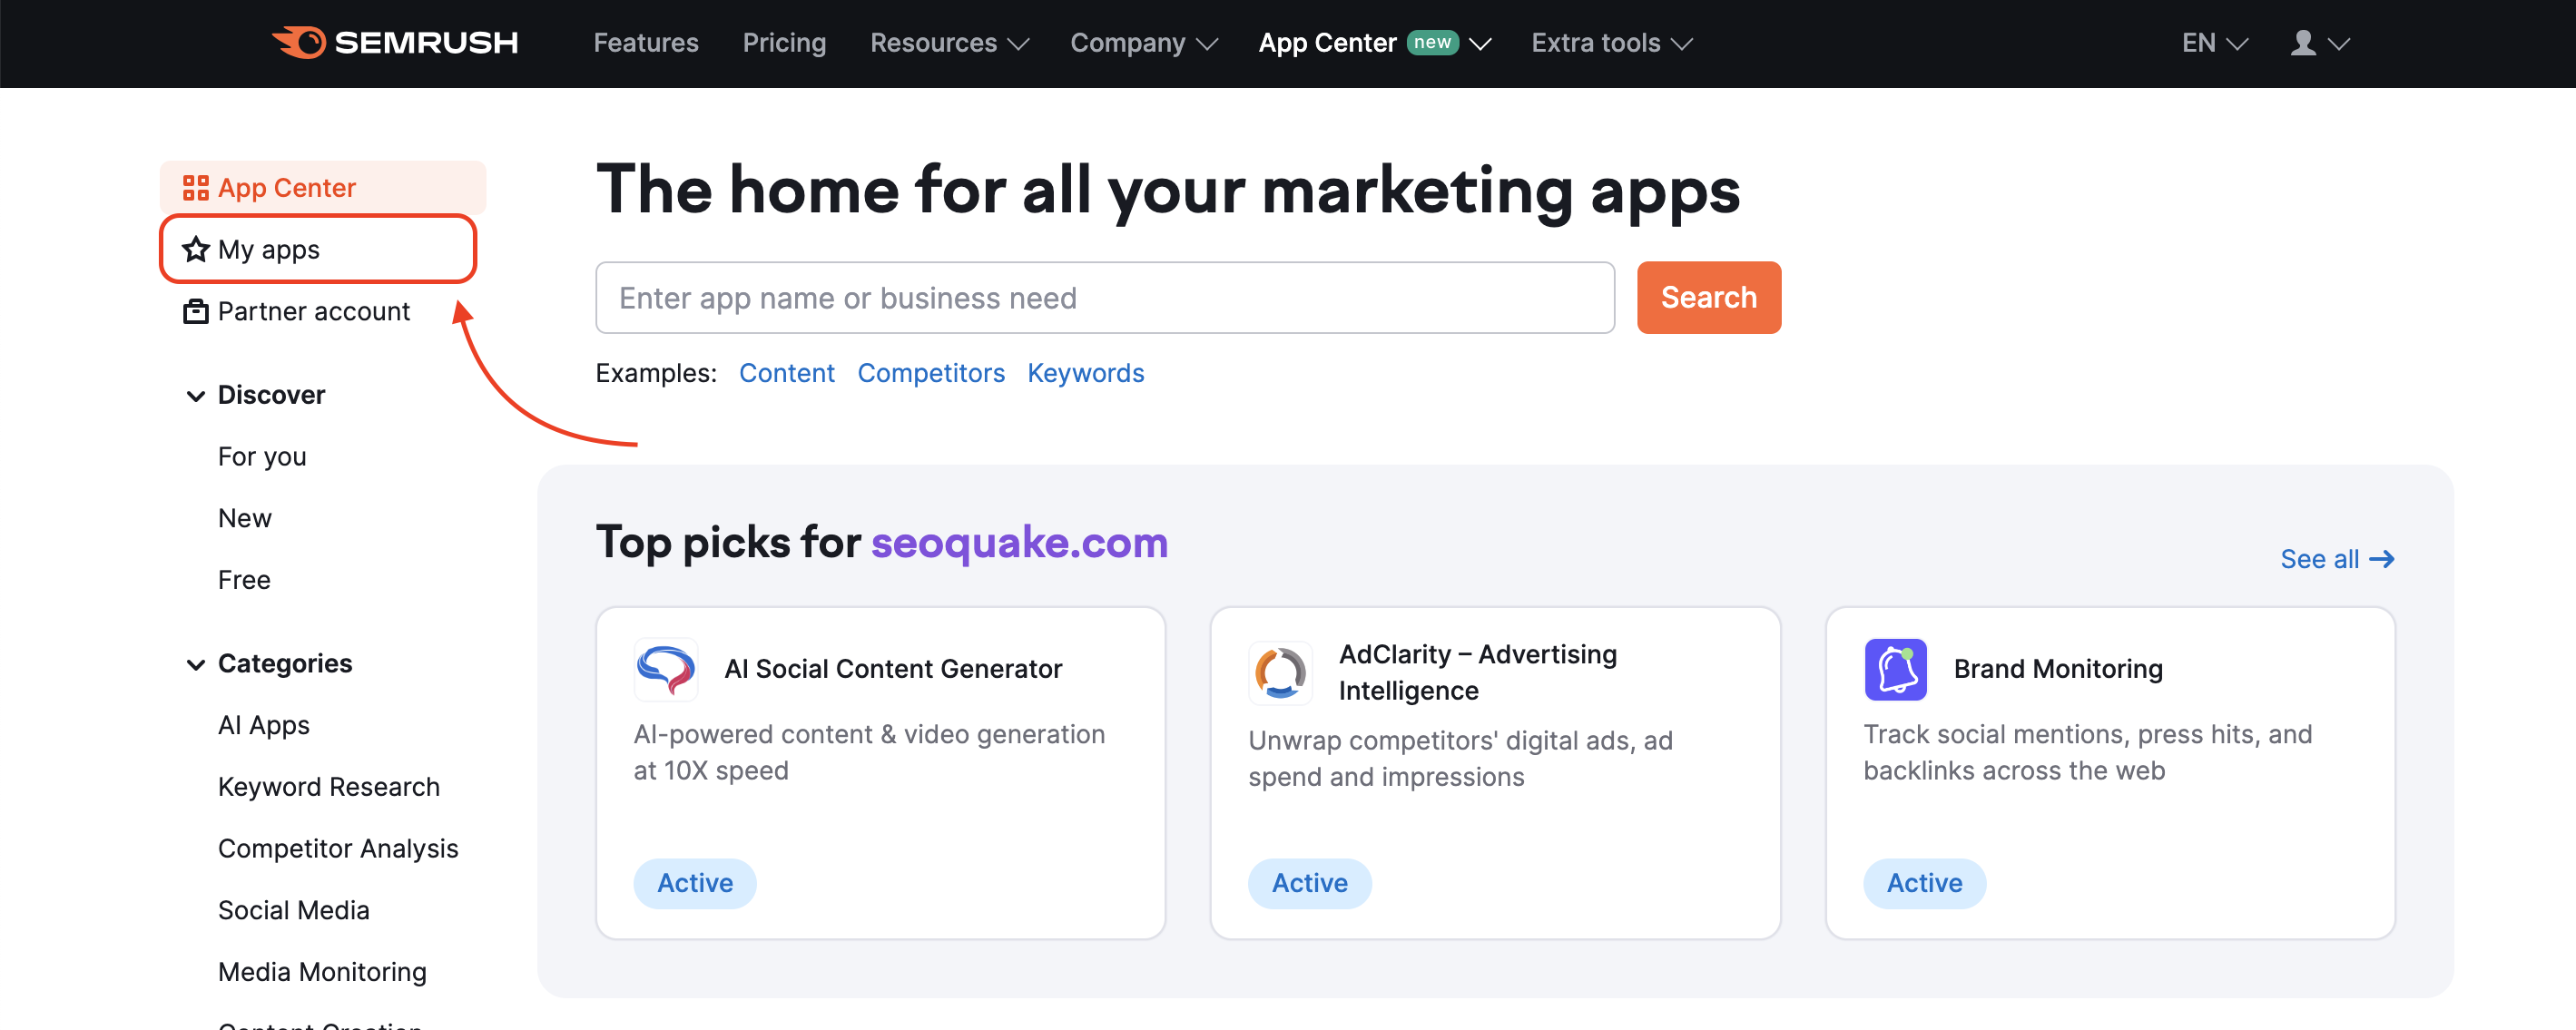
Google Analytics AdCost Import is a digital advertising intelligence app that automates the process of importing your ad cost data to Google Analytics from external ad networks. Currently, the app can automate imports from Facebook and Instagram, Bing, Twitter, LinkedIn, Criteo, AdRoll, Yahoo, and Outbrain. You can find it in the Semrush App Center.
How Can Google Analytics AdCost Import Help Me?
For marketers running digital ad campaigns, measuring the efficiency of your ad campaigns is crucial. But how do you get an accurate picture when your ads are spread out across multiple channels or ad networks?
Typically, marketers achieve this by manually exporting their ad cost data from one ad network, such as Facebook, and importing it to Google Analytics to analyze holistically.
Google Analytics AdCost Import makes this process more efficient by automating the import process. With it, you can save time previously spent manually exporting, formatting, and uploading and instead focus on analyzing and optimizing your ads.
Pricing
You can subscribe to Google Analytics AdCost Import for $99 per month. This will allow you to create three advertiser pipelines.
You can add more pipelines to your subscription for an additional $99 per set of three.
To learn more about pricing for all Semrush products and tools, visit our pricing page.
What’s Included in Google Analytics AdCost Import?
With Google Analytics AdCost Import, you can automatically import your advertising data from external networks to Google Analytics.
Supported advertising services include:
- Facebook and Instagram Ads
- Bing Ads
- Twitter Ads
- LinkedIn Ads
- Criteo
- AdRoll
- Yahoo Gemini
- Outbrain
Once set up, the app will automatically import and refresh your data to Google Analytics daily, until you revoke access by deleting the pipeline.
Setting Up Google Analytics AdCost Import
Google Analytics AdCost Import creates a bridge between your ad networks and Google Analytics. Once you connect your accounts and create pipelines, your advertising cost data will automatically import to Google Analytics.
Below, we’ll show you how to set up your pipelines to automatically import your ad cost data.
Creating a Data Set in Google Analytics
Before you start using the app, you’ll need to create a data set in your Google Analytics account if you haven’t already done so.
A data set is a designated container where Google Analytics stores data imported to a certain property.
A property is the entity whose data you are analyzing (e.g., a website, blog, or app).
To create a data set, first log in to your Google Analytics account and select the property you’d like to import data to. Navigate to the Admin section. Then select “data import” and click “create.”
Next, under “Data Set type,” set your type as Cost Data.
Now, name your data set and select the views that will have access to it.
Note: While you can select more than one view when creating your data set in Google Analytics, in the app, you can only select one view at a time when creating your pipeline.
Finally, define your data set schema. This is the structure of your data, which enables Google Analytics to identify and match key values in the data you upload.
Using the “select key” drop-down menus, select the dimensions and metrics you want to use to analyze your ad cost data.
Then select your preferred import behavior. Your imported data will not be duplicated in your reports, so you are free to choose either Summation (the default selection) or overwrite, according to your preference.
Your data set is now ready for your data.
How To Create a Pipeline
A pipeline is the automated process by which the app exports your ad cost data from the channel where it originated (the data source) and imports it into Google Analytics for you to review.
To create a pipeline, navigate to the “create pipeline” tab. If this is your first time using the app, you’ll automatically be directed to this page.
Click on the ad channel containing the data you want to analyze (e.g., Facebook & Instagram Ads, Bing, Twitter, etc.).
In step one, provide the app with access to your ads account on that channel. To do this, click the “add” button.
Then, in the window that appears, enter the login credentials and follow the prompts, if necessary.
This step might look a little different depending on the channel you’re logging in to. However, the basic process—entering your credentials and granting access—remains the same.
If you have multiple ad accounts on the same channel, you may connect each of them by repeating this process as many times as necessary. In other words, click “add” (or the equivalent button) and log on to the next ad account you want to connect.
Just like adding your first account, this step might look different depending on which ad channel you are adding. For example, here’s how it looks for Facebook and Instagram Ads:
In step two, connect your Google Analytics account to the app.
To do this, first click “add.”
In the window that appears, sign in to the Google Analytics account you want to connect. Then follow the on-screen prompt to allow access.
In step three, select the data set where you’d like to import your data.
First, choose the Google Analytics property where your preferred data set is located.
Note! Analytics Universal Web property should not have an access role lower than Editor, otherwise the app won’t be able to import the costs to your Google Analytics.
Then, select the data set where you want the app to send your advertising cost data.
Finally, in step four, verify that your pipeline settings are correct. Here, you can modify:
- The Google Analytics views that have access to this data
- Your data import start date
- Your UTM source and medium values
In addition to importing current data, when setting up your pipeline, you can import data for the full previous month. For example, if you were to create a new pipeline on January 1, the earliest date you could import would be December 1.
To start importing, set your data import start date for when you’d like that data to begin. If you don’t want to import historical data, then set that date for today.
During this step, check your time zone and currency settings. Google Analytics AdCost Import determines currency and time zone based on the settings of your Google Analytics view.
If your currency or time zone are incorrect, you will need to update it in Google Analytics before creating your pipeline.
You can learn how to update your view settings here.
Pro Tip: Before you move forward, take a moment to review all of your selections for each step. Once you create your pipeline, you will not be able to make any changes. Instead, to update it, you’ll need to delete your pipeline and create a new one.
When you are satisfied with all of your selections, click “create pipeline” to complete this process.
UTM Source and Medium Values
UTM tags are short pieces of code that, when added to a link, allow you to track important information about a campaign’s performance. For example, they can tell you how many visitors arrived on a page from a certain source, which campaign the link they clicked is associated with, or what type of content they interacted with. UTM tags are also referred to as UTM code, or UTM parameters.
Google Analytics AdCost Import generally uses the UTM tags in your ad account to attribute ad cost data. However, in some cases, these may not align with Google Analytics or may not be available.
For example, this data might not be available if:
- Your ad account does not provide any UTM tags
- Your UTM tags are incorrect
- The app cannot retrieve UTM values for your short link type (in this case, default values will be substituted)
- You’re using an ad type that does not allow UTM tags to be retrieved
In this case, Google Analytics AdCost Import will instead use the source/medium values you provided when creating your pipeline.
If you are using Criteo, the pipeline will import data using the following logic:
- Cost data will be imported down to the source/medium/campaign level
- Your UTM source will be ga:source=criteo unless you modify this in your pipeline settings
- Your UTM medium will be ga:medium=cpc unless you modify this in your pipeline settings
- Your campaign will be identified using the campaignName parameter, retrieved using the getCampaigns method
To ensure that your imported data aligns with Google Analytics, follow these rules for your ads’ UTM parameters:
- utm_source=criteo;
- utm_medium=cpc;
- utm_campaign=campaign_name; (here, please use the campaign name from Criteo’s UI)
Where To Find Your Data in Google Analytics
Your advertising data will be stored in your selected data set in Google Analytics.
To find your imported data, first log in to your Google Analytics account and access the property where you imported your data. Then, in your Reports menu, expand the “acquisitions” tab. Under “campaigns,” select “cost analysis.”
Here, you can see an overview of all your native and imported ad cost data. Click on the name of one ad account (such as “facebook / cpc” in the image above) for more details about it.
How To Delete a Pipeline
To delete a pipeline from Google Analytics AdCost Import, first navigate to the Pipelines tab.
Next, click the three dots icon beside the pipeline you want to remove, and click “delete.”
When you delete a pipeline, it will no longer send your advertising data to Google Analytics.
Once a pipeline is deleted, it cannot be recovered. However, you can recreate it using the process described above.
If you have other questions about the App Center or the Google Analytics AdCost Import app, please email us directly at app-center@semrush.com.