AI Video Marketing Automator is a video creation app developed by Vidon.ai. It allows you to generate blog- or topic-based videos for your marketing at scale using AI.
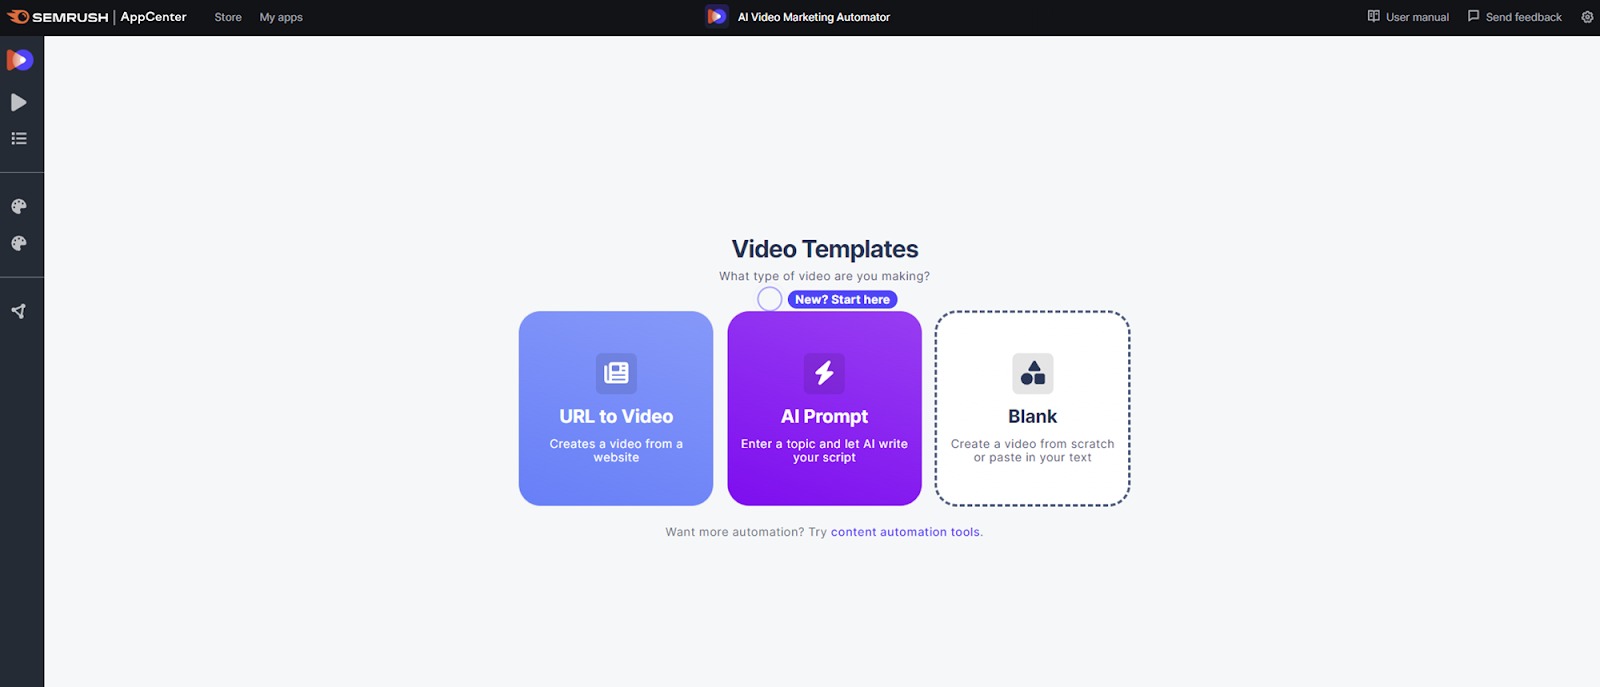
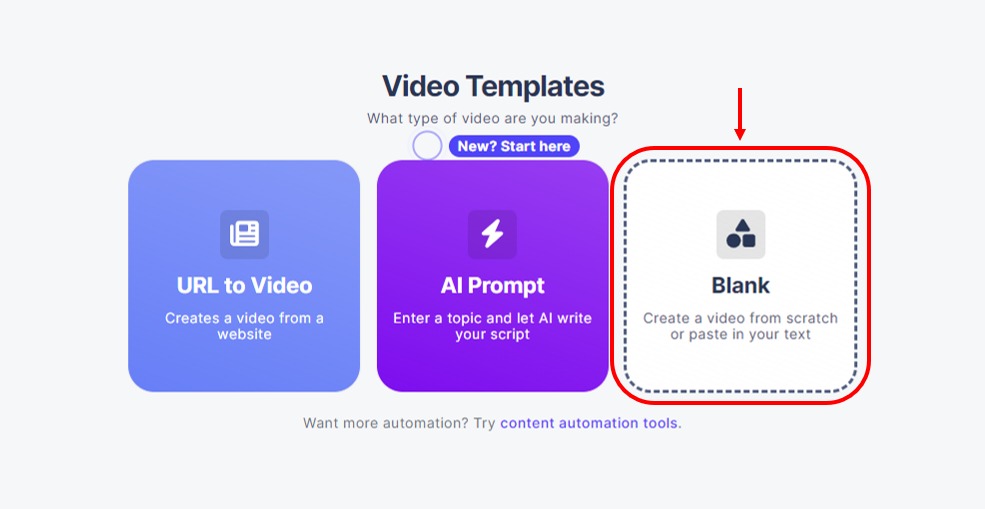
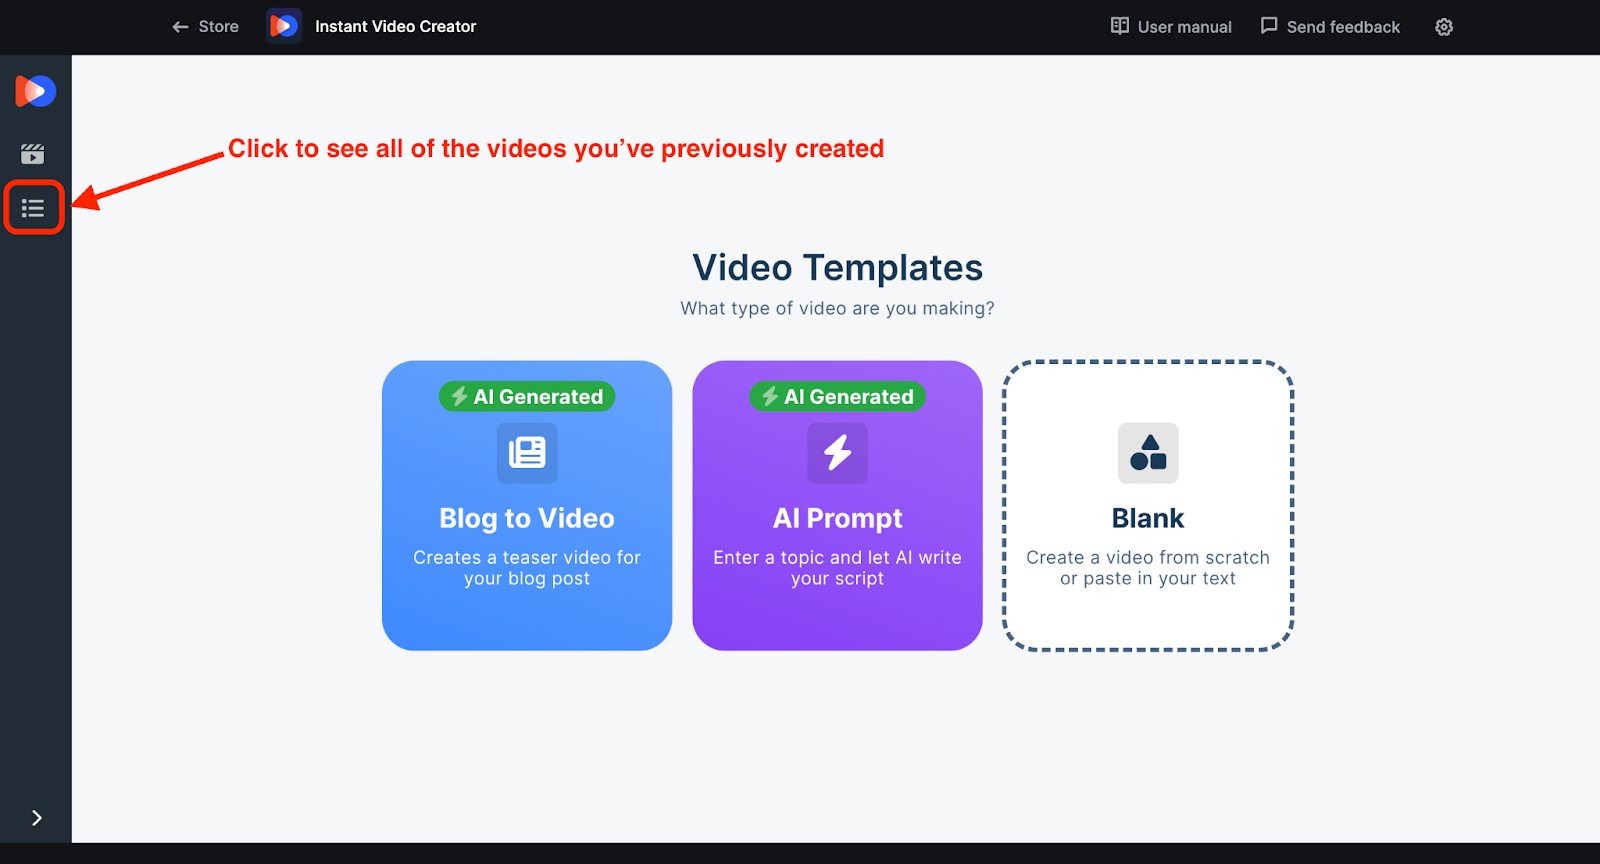
You can choose from three templates to get started with video generation:
- URL to Video: Create a video from a website link you provide
- AI Prompt: Generate a script based on a topic chosen by you or the Idea Generator
- Blank: Create a video from scratch and add in your own content from the start
The built-in editor allows you to tweak the videos to suit your desired style before exporting for publication on your chosen social media profiles, including LinkedIn, YouTube, TikTok, and X. You can also auto-embed AI videos in newly published articles on your site, and you can schedule and publish videos automatically in the app’s integrated Calendar.
The Benefits of AI Video Marketing Automator
AI Video Marketing Automator is built for marketers who want to boost their rankings, visibility, and engagement with fresh, frequent, and unique video content.
Users can add their own branding via Brand Kits, connect their social media accounts, and manage their publishing schedule via Calendar for a seamless content marketing workflow.
The app’s many benefits include the ability to:
- Create engaging videos with scripts in minutes
- Improve visibility of organic content
- Win featured snippets
- Position videos in Google Search Videos
- Generate engagement in social media posts
- Automatically share videos across multiple social media channels
- Add branding to AI-generated videos (Pro feature)
- Embed directly and automatically into new blog posts on your site (Pro feature)
- Scale your content marketing with automated bulk video creation (Pro feature)
- Translate video scripts to local languages (Pro feature)
As well as significantly boosting your branded video output, AI Video Marketing Automator can help you improve your customer experience and organic performance on the whole with stronger, more engaging on-page content.
Pricing
There are two plans available to AI Video Marketing Automator users.
The Base subscription costs $39/month, and includes the following:
- 10 videos
- URL to Video
- AI Generated Videos
- Ultra realistic voiceovers
- Content Calendar
- Publish to Social Media
- Video Hosting
The Pro plan is priced at $119/month. It includes everything in the base plan, plus:
- Additional 40 videos
- Video Translation
- Upload your own music
- API Access
- Bulk creation tools
- Brand Kits
If your posting frequency increases each month, you can add monthly credits to create more videos or to use the Video Hosting feature.
The pricing add-ons are as follows:
- $10/month
+10 videos for Video Hosting - $149/month
+50 more video credits
You will be charged one credit for each video you export by pressing the "Export Video" button. Exported videos can be downloaded unlimited times.
Without a base subscription, you have one credit to try out the app, which allows you to export one created video in three ratios - Landscape (16:9), Portrait (9:16), and Square (1:1).
Please note that you'll need a paid AI Video Marketing Automator subscription to create videos longer than one minute using the AI Prompt template.
How To Use AI Video Marketing Automator
AI Video Marketing Automator is easy to use. Here’s how to start making your AI-generated videos. For this demonstration, we’ll use a blog post template.
Step 1: Choose Your Template
Before you start creating your video, you’ll need to choose a template to work with.
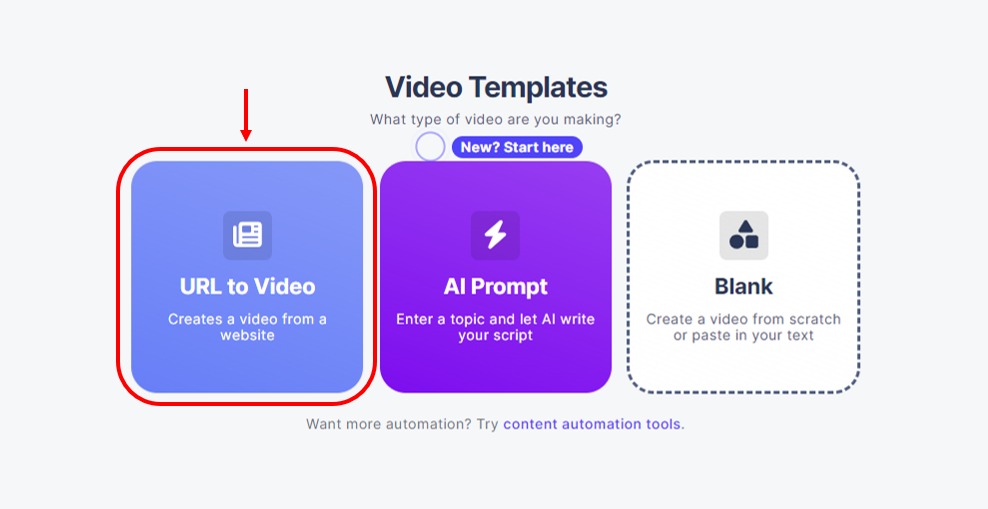
For the URL to Video template, you’ll need a URL from the blog post to generate the video’s information automatically.
To get started, click on the “URL to Video” template.
Step 2: Add Your Information
For the blog post video, you’ll want to add your desired URL and choose the collection from which the images will be taken, then click “Create Video.”
Wait a few moments for the information to generate.
To leverage AI to generate a script based on a topic of your choice instead, select the “AI Prompt” option in the middle.
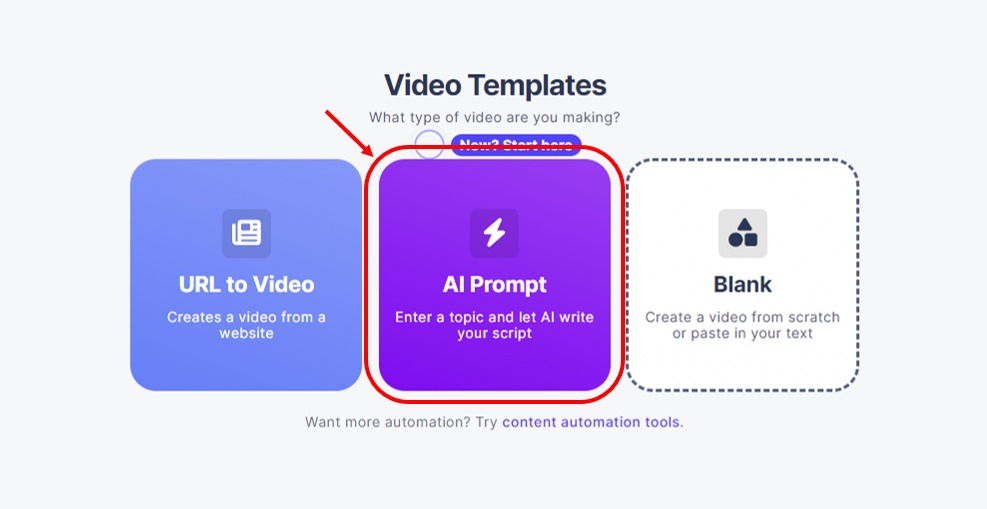
With the AI Prompt template, there's no need to rely on an existing blog post for video creation, as with the URL to Video template, or to have pre-written text when starting a video from scratch with the Blank template.
The AI Prompt template simplifies video creation by generating a script and finding relevant images based on your provided topic.
Here are five simple steps to create a video using this template:
- Choose a topic: Start by entering the topic for your video. The AI will use it to generate your video script. If you're unsure of which topic to choose, you can use the Idea Generator beneath the text box. Simply describe your products or company, and the AI will help you come up with ideas.
- Select the video length: Choose the length of your video. Shorter videos will be faster-paced, while longer videos will be more in-depth. Note that you will need a paid subscription to create videos longer than one minute using this template.
- Brand Kit: Choose a brand kit you’ve created to use in your video. You can select a brand kit to guide the AI when it comes to creating the visuals and tone of voice for your video—they can be created in the Content Management section of the app, accessed via the left-hand sidebar.
- Pick your primary color: Select the primary color you want to use in your video. Each section and illustration will change based on the primary color you set up. You can choose from the available palette or enter your HEX code.
- Choose an image collection: Select the style of illustrations that you want to use in your video. Alternatively, choose the Stock Images option, and the AI will find suitable images for you.
- Create your video: Click the “Create video” button after finalizing your setup options. The AI will generate a video, which you can then edit as you see fit.
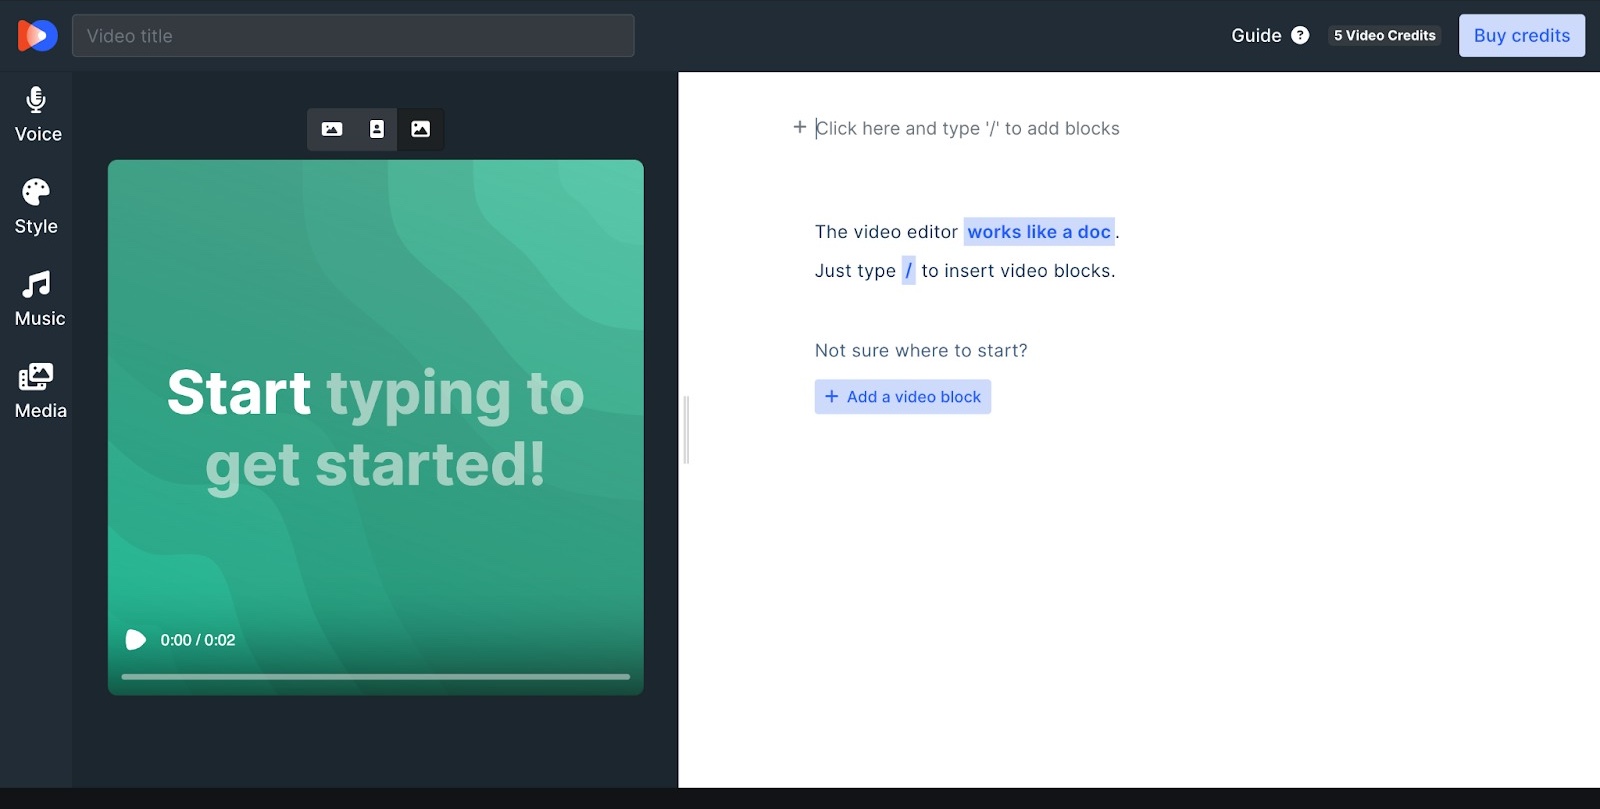
If you don’t want to auto-generate the information for your video, it’s also possible to start from scratch using a blank template. Click on “Blank” on the home screen to go down that route.
When you click “+ Add a video block”, you will see some options for what kind of block to add, which will be similar to the content blocks you’ll see in the editor in Step 5 later.
Step 3: View Your Rough Video Draft
After your upload is complete, AI Video Marketing Automator will display the information pulled from your blog post.
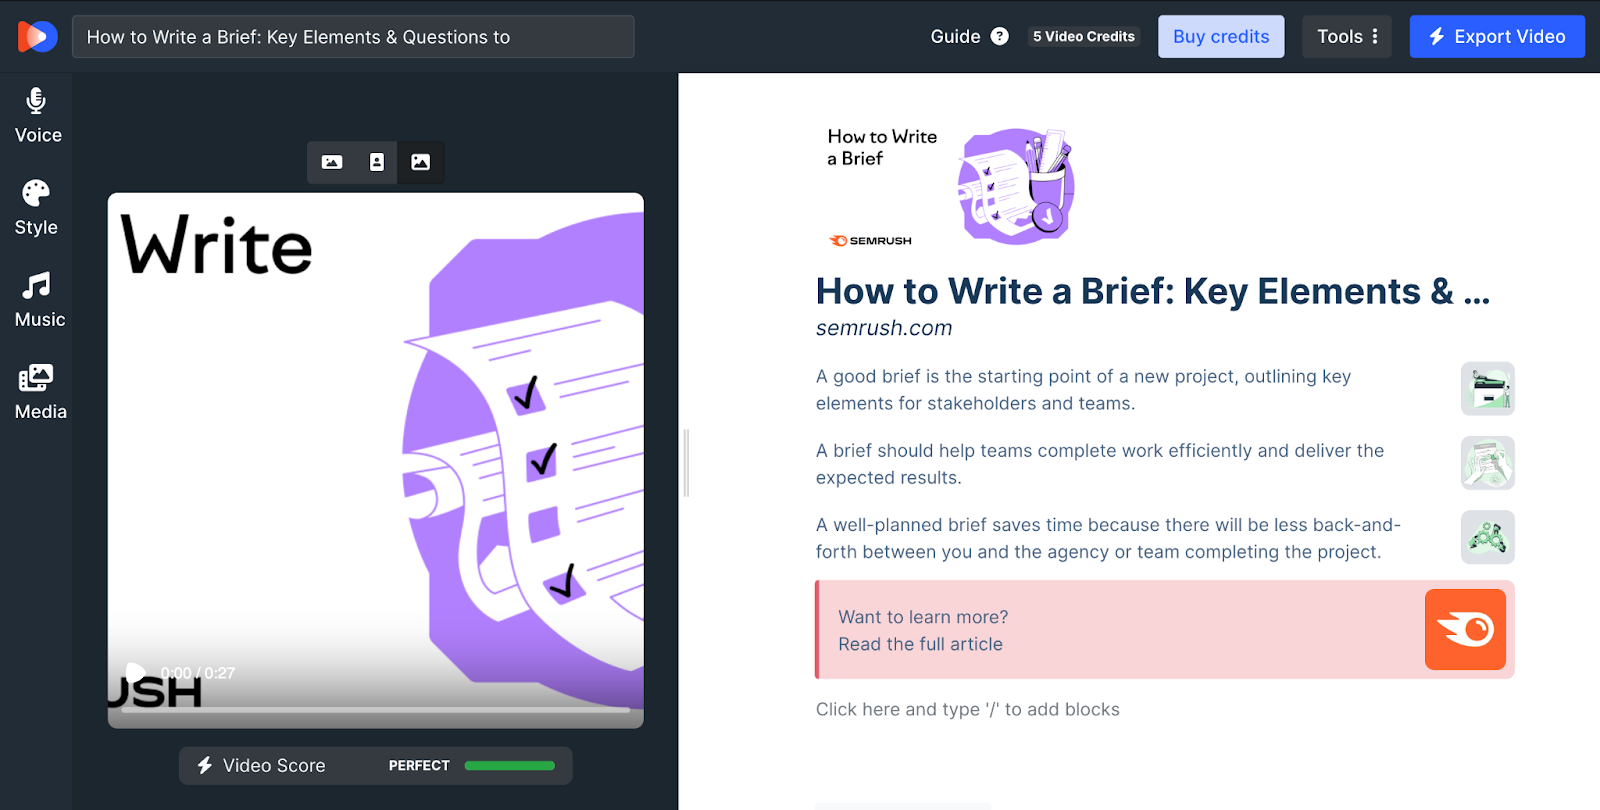
If you are happy with the video, you can leave the content as is, or you can manually change the generated information to customize your video.
There are a few ways to customize your video, and the next few steps will show you how to do that.
Step 4: Change the Voice, Style, Music, and Media of Your Video
In the left sidebar of AI Video Marketing Automator, you can change the voice, style, music, and media in the video. We will demonstrate how to change the video content in Step 5.
To change the voice, style, and music, click any icon on the left sidebar.
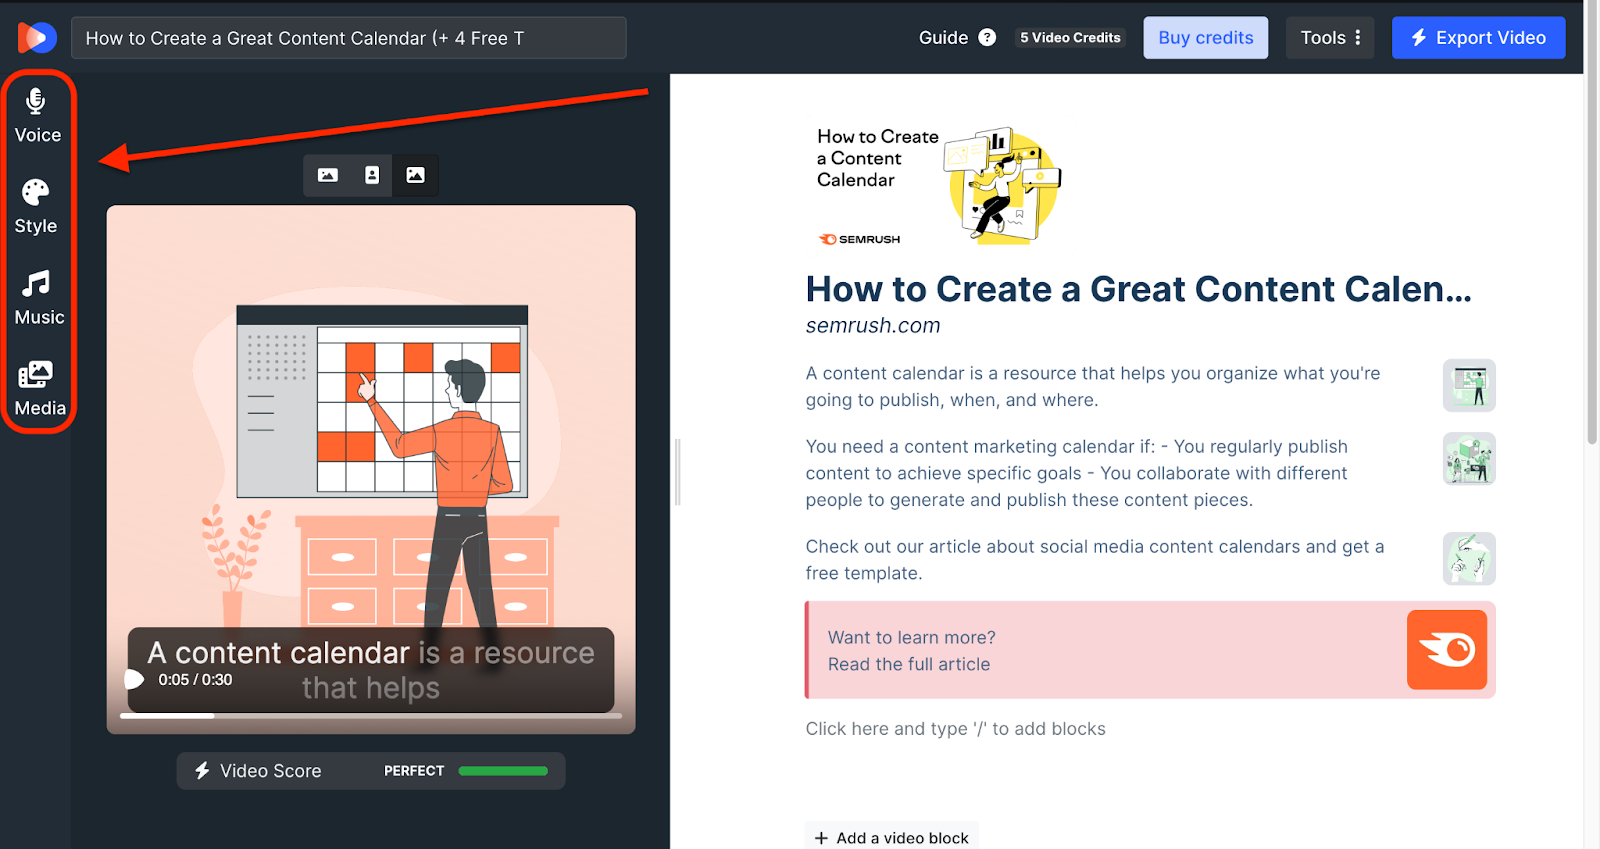
Clicking on each icon will bring up a prompt that allows you to change the voice, style, music bed, and media.
To change the voiceover, click on the voice icon. From here, you can choose the language, the accent, and the gender of the voice to suit your video. Adjust the pitch and speed of the voice for an ideal sound. You can also disable the voiceover if it isn’t needed in your video.

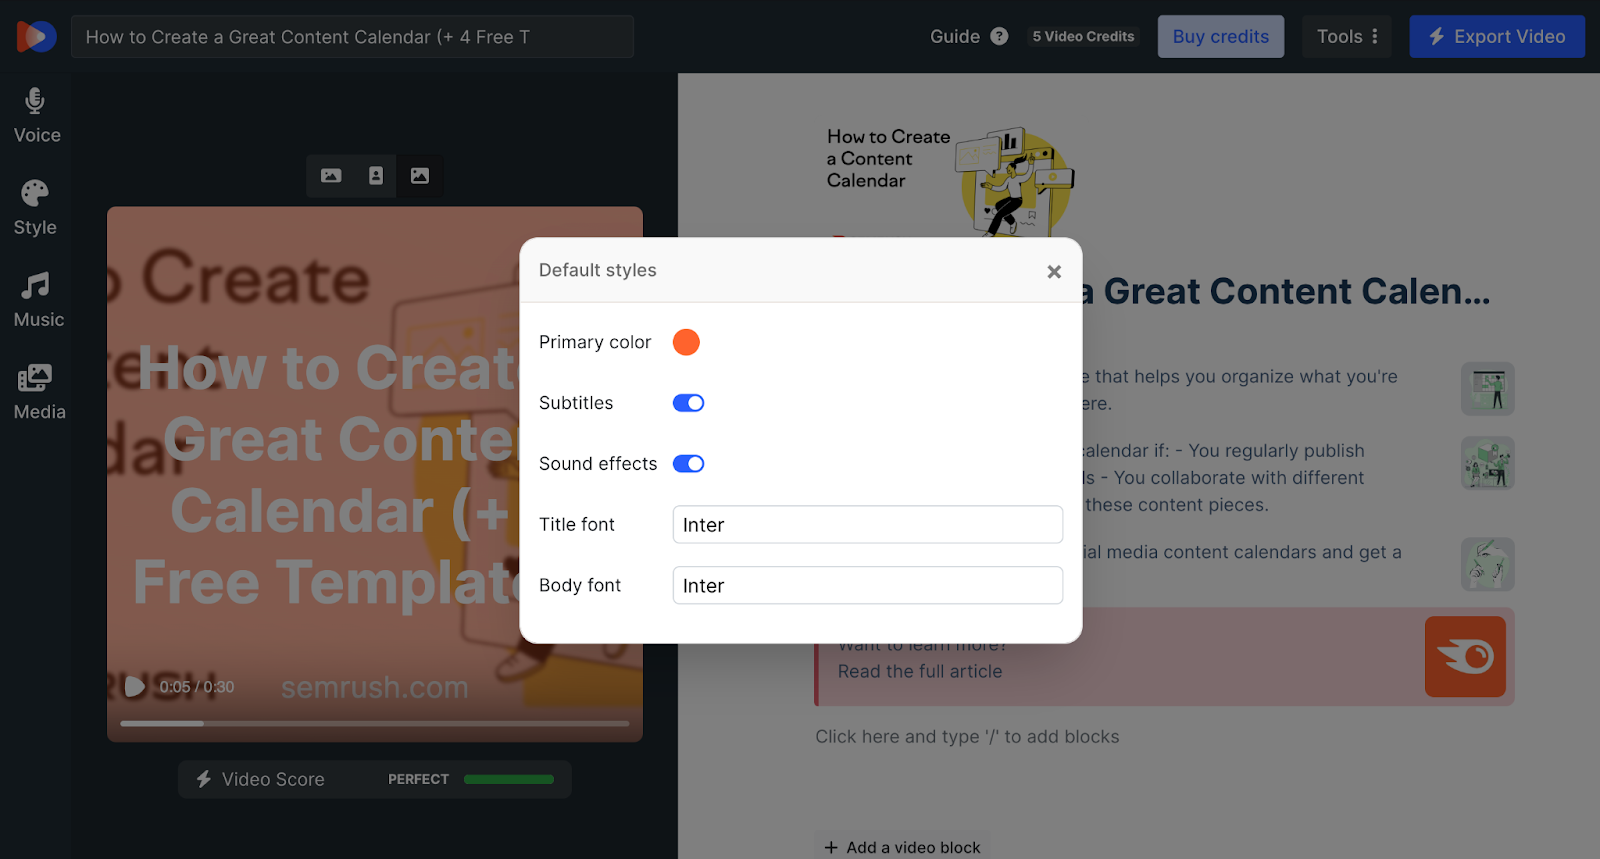
To change the appearance, click on the “Style” icon.
This will allow you to choose one color (this could be a primary brand color). It also allows you to choose a font that closely matches your brand.
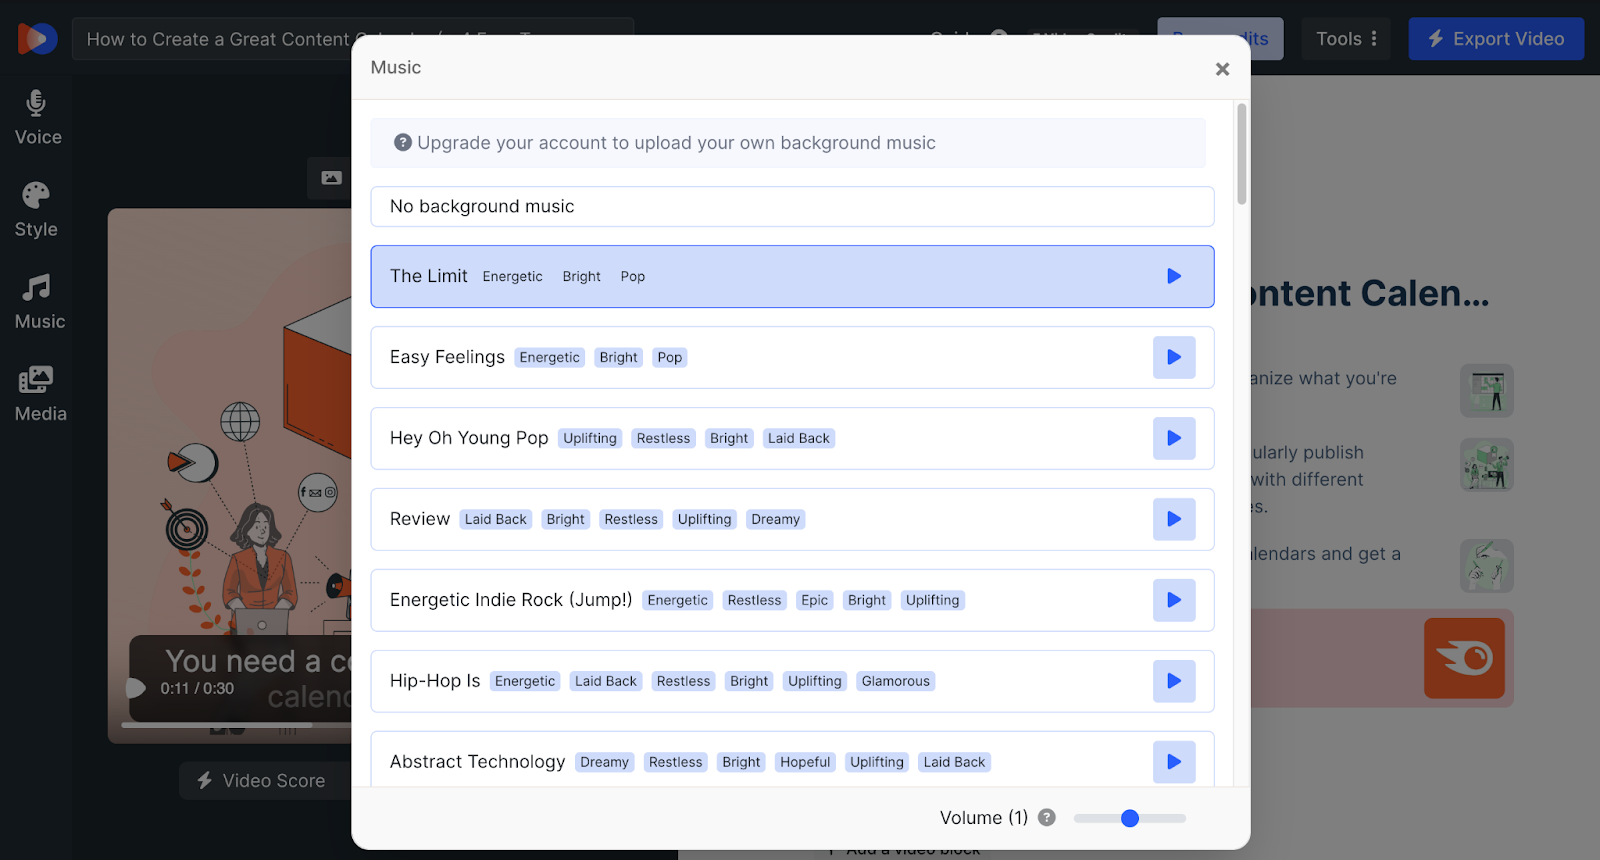
When changing the music bed, you can select from the music already provided by AI Video Marketing Automator, turn the background music off, or upload your own MP3 file.
If you choose to upload your own music, make sure the song is royalty-free to avoid any legal issues or that you have purchased the rights to the song.
You can also search a library of royalty-free images and videos to add to your video in the “Media” section. You’ll also be able to find illustrations made in different styles that adjust the color based on the previously chosen Primary color.

Any edits you make will be autosaved as you work on your video.
Step 5: How To Change the Content of Your Video
For the Blog to Video template, the content in your video is automatically generated from the article you’ve written. However, you can adjust the content in your video in a few steps.
Start by locating the settings that allow you to change each block in your video. They appear as your cursor hovers over each block.
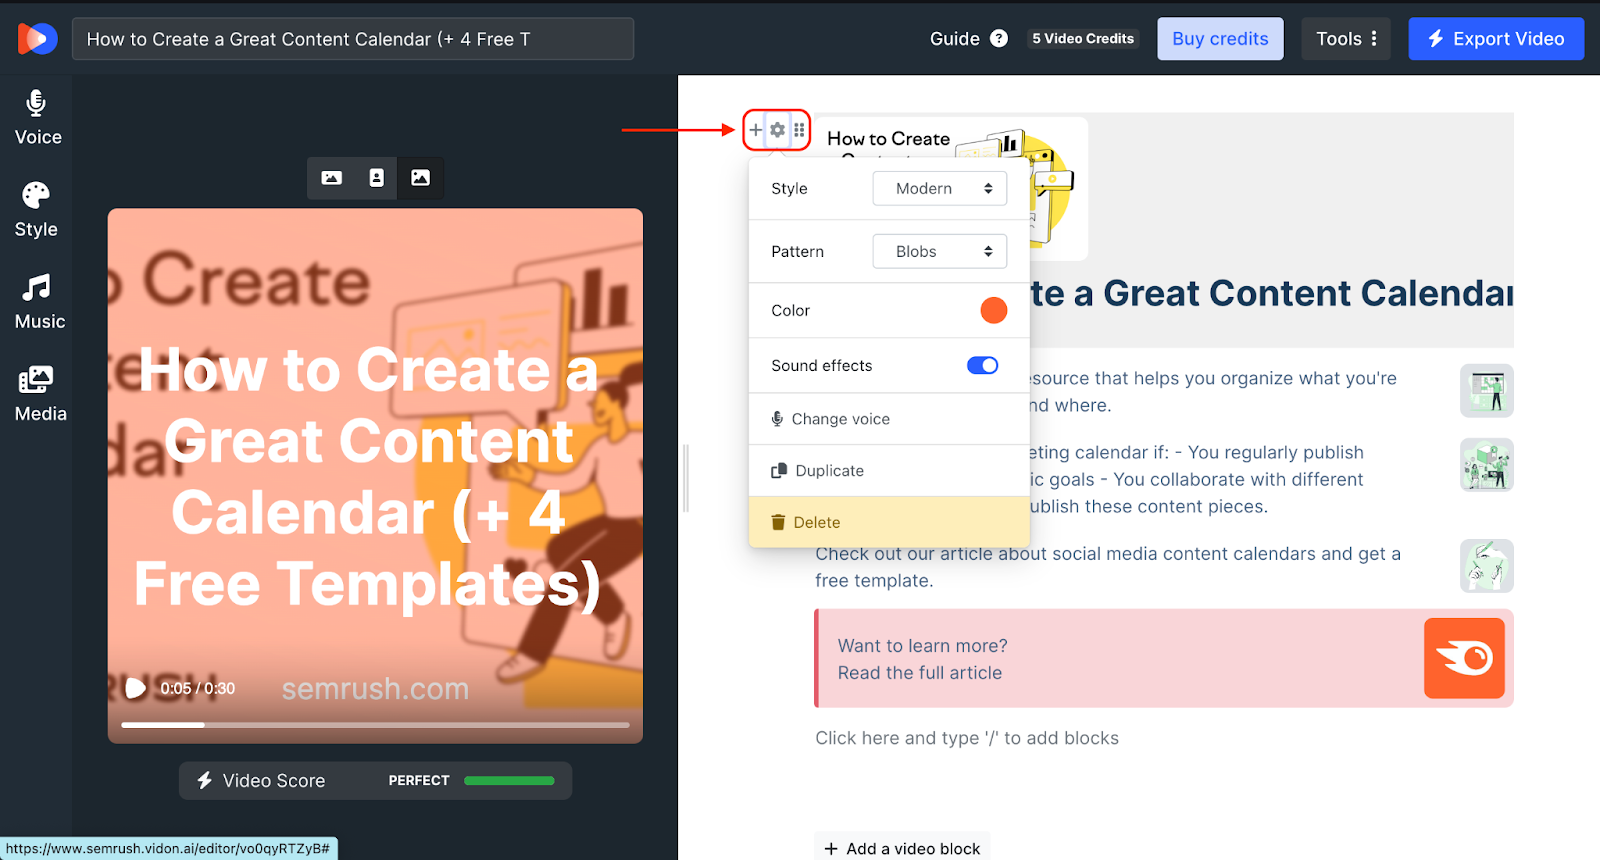
To change the block’s style, pattern, animation, color, and voice, click on the cog icon. You can also choose to enable or disable the subtitles and sound effects. Please note that the settings available for each type of block can differ.
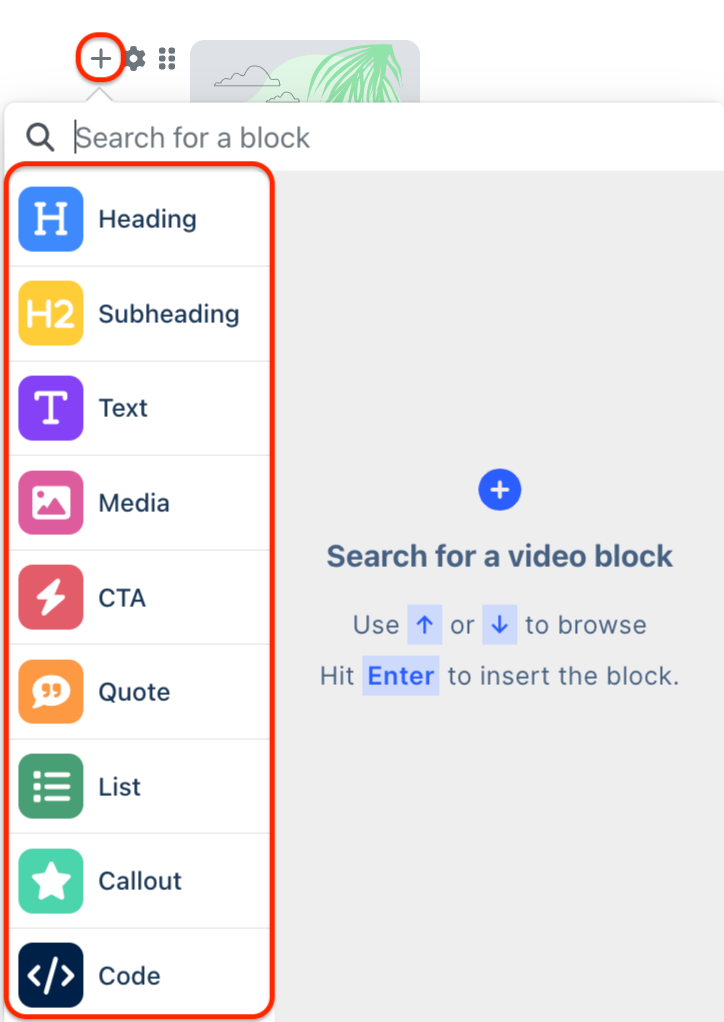
If you want to add another block, you can click the “+” and choose from these types of blocks: Heading, Subheading, Text, Media, Call to Action (CTA), Quote, List, Callout, and Code.
Finally, if you want to rearrange the blocks in the video, click on the six-dot icon and drag the block to your preferred position.
When changing the content, hover over the blocks to directly edit the auto-generated text.
Some words and phrases can be shown and not spoken. To do this, you need to write a word or phrase in square brackets. For example: write [Semrush] to show “Semrush” in subtitles but not pronounce it.
To change how a word or phrase is pronounced, you can write it like this: [text]{text spelt phonetically}. For example: [Microsoft]{Micro soft}. "Microsoft" will appear in the subtitles, but it will be pronounced "Micro soft".
You can also add a pause anywhere in your text. Simply type "<0.5s>" to add a 0.5-second pause or "<5s>" to add a five-second pause wherever you want. Pauses can be up to 10 seconds long.
Hover over the orange call to action (CTA) block to change the text and the logo displayed at the end of your video.
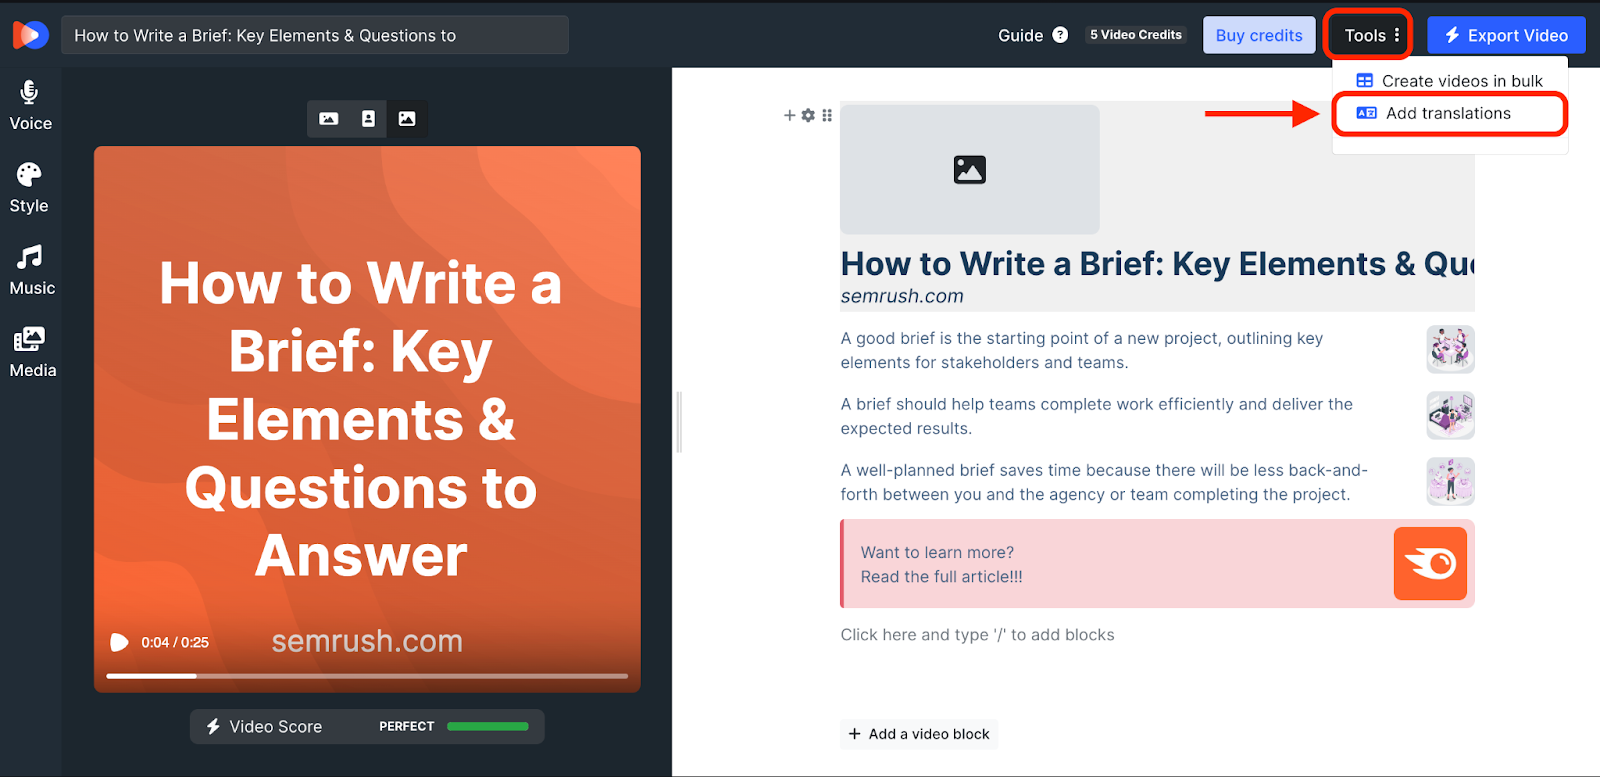
Go to the “Tools” button in the upper right corner of the interface and choose “Add translations,” which will automatically translate your video into other languages.
Once you’ve altered your video to your liking, play your video a few times to make sure everything appears correctly.
Step 6: Download Your Video
Once you have perfected your video, you can download it using one credit from your plan. If you don’t have credits yet, you can easily purchase them upon downloading your video.
To download your video, click the blue button labeled “Export” to the upper right. The exported video will be available for download in three ratios: Landscape (16:9), Portrait (9:16), and Square (1:1). You can select “Export Only” or, if you want to schedule your video to be automatically published at a later date, “Save & Schedule” to use the built-in Content Calendar.
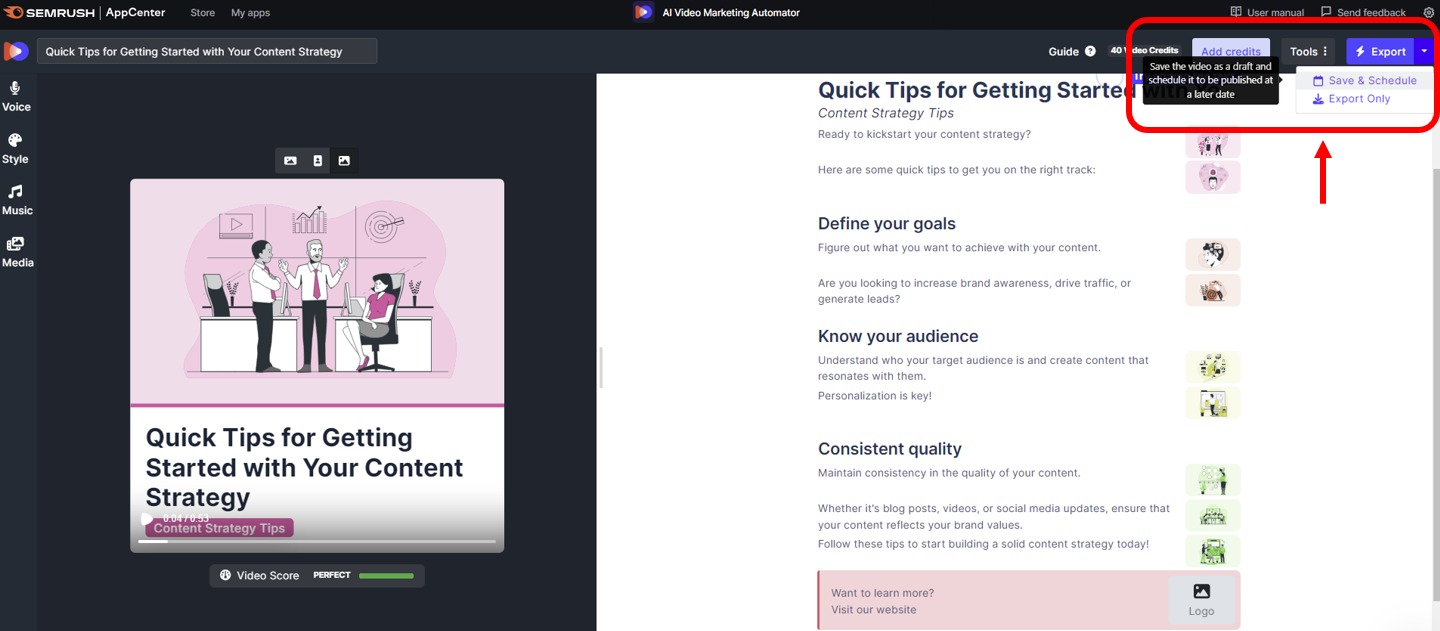
The Content Calendar allows you to schedule your saved videos for publishing on social media channels whenever you want—you can see more details about the Calendar in the section below.
You can also create videos in bulk via the “Tools” button, where you can change your Video Title, Voice, Style, and Music in a spreadsheet-like batch editor. 
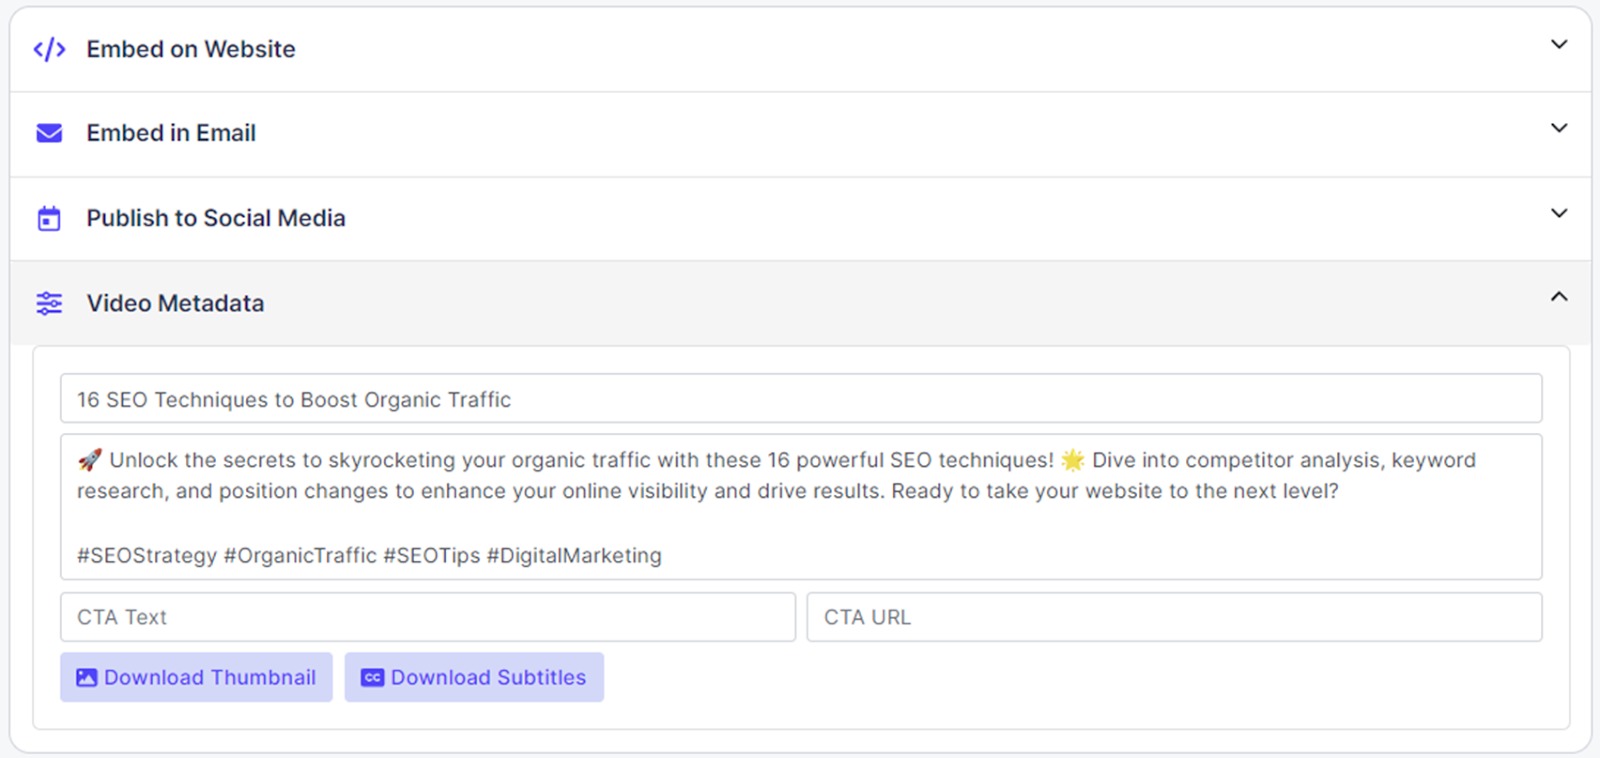
AI Video Marketing Automator also enables Video Hosting to save you from having to upload to YouTube or Vimeo. Once each video is complete, you can click “Enable” under “Embed on Website > Video hosting” to use your credits—you’ll need to buy a "10 videos for Video Hosting" add-on to start using it, with each new video using one credit.
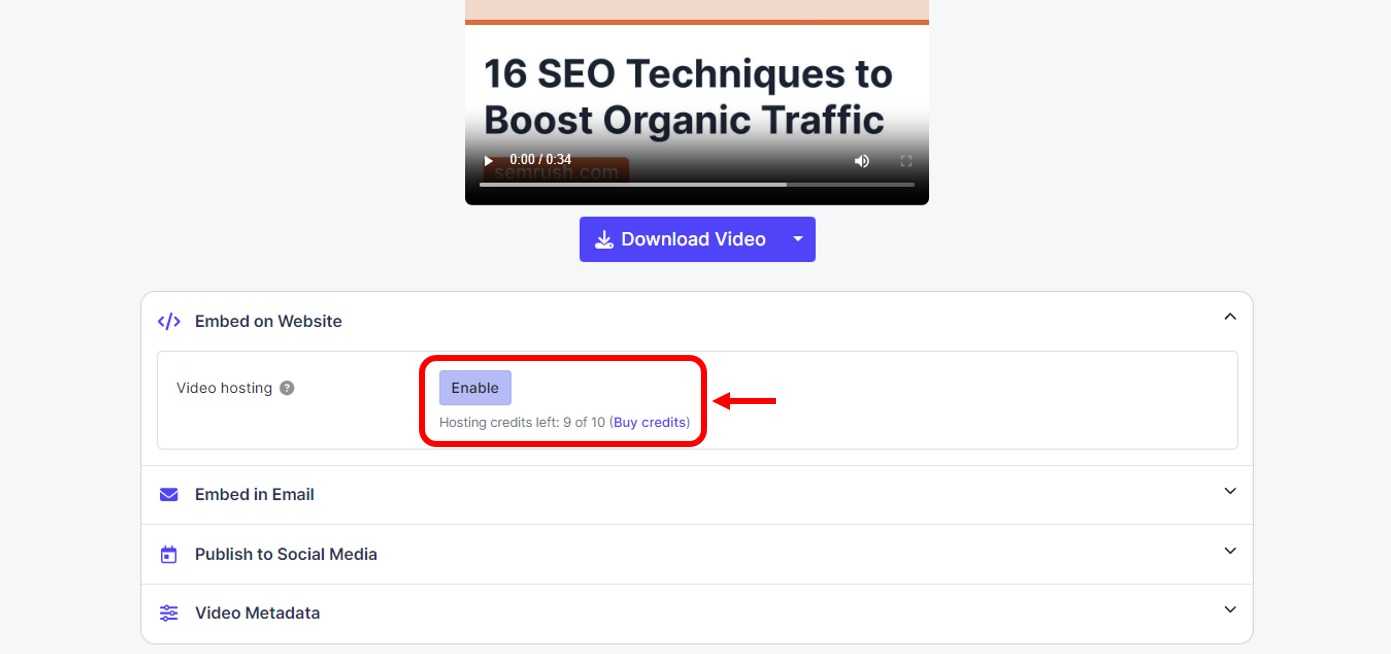
Under “Video Metadata” in the same section, you can set the title, description, and CTA of your video, and also download the thumbnail and subtitles:
Content Calendar
You will find the Calendar feature under the Content Management section of the app.
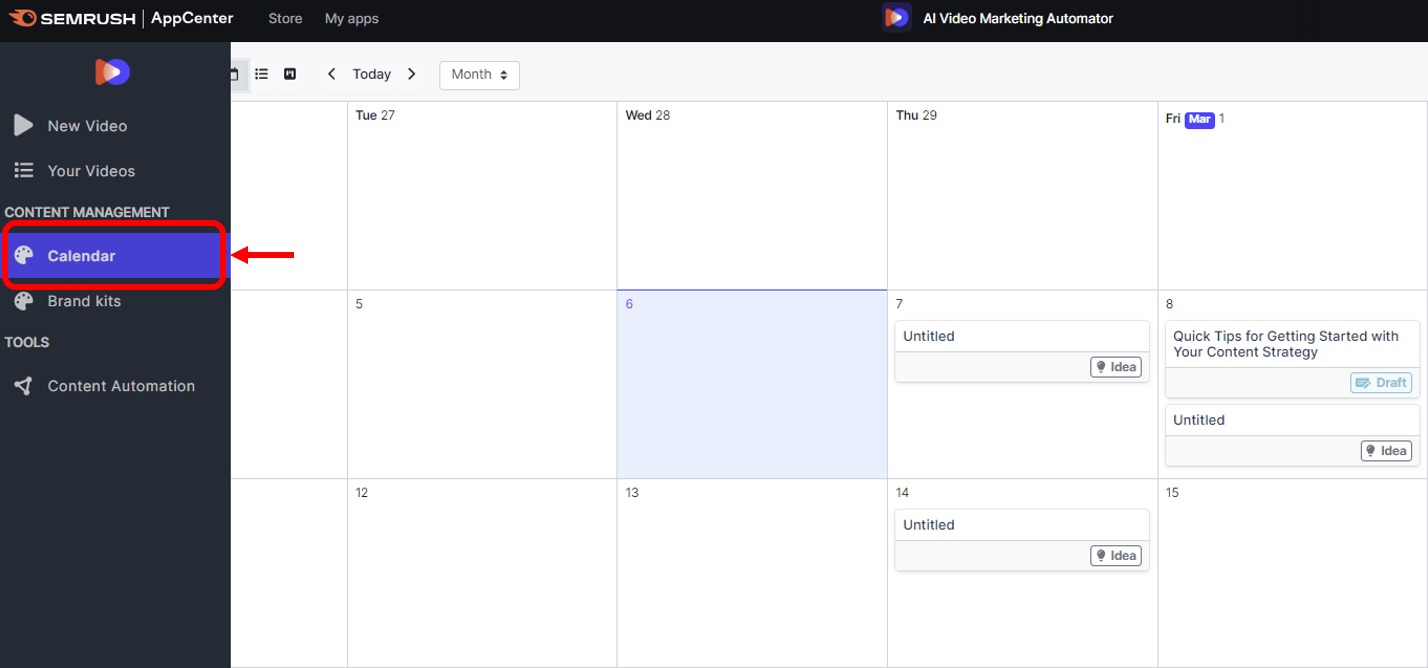
Here, you can schedule the videos you create in AI Video Marketing Automator to be published on LinkedIn, YouTube, TikTok, and X. You can view your scheduled posts in “Calendar view,” “Schedule view,” or “Kanban view.” You’ll find the buttons for these views at the upper left, where you can also cycle through the days and months in “Calendar view.”

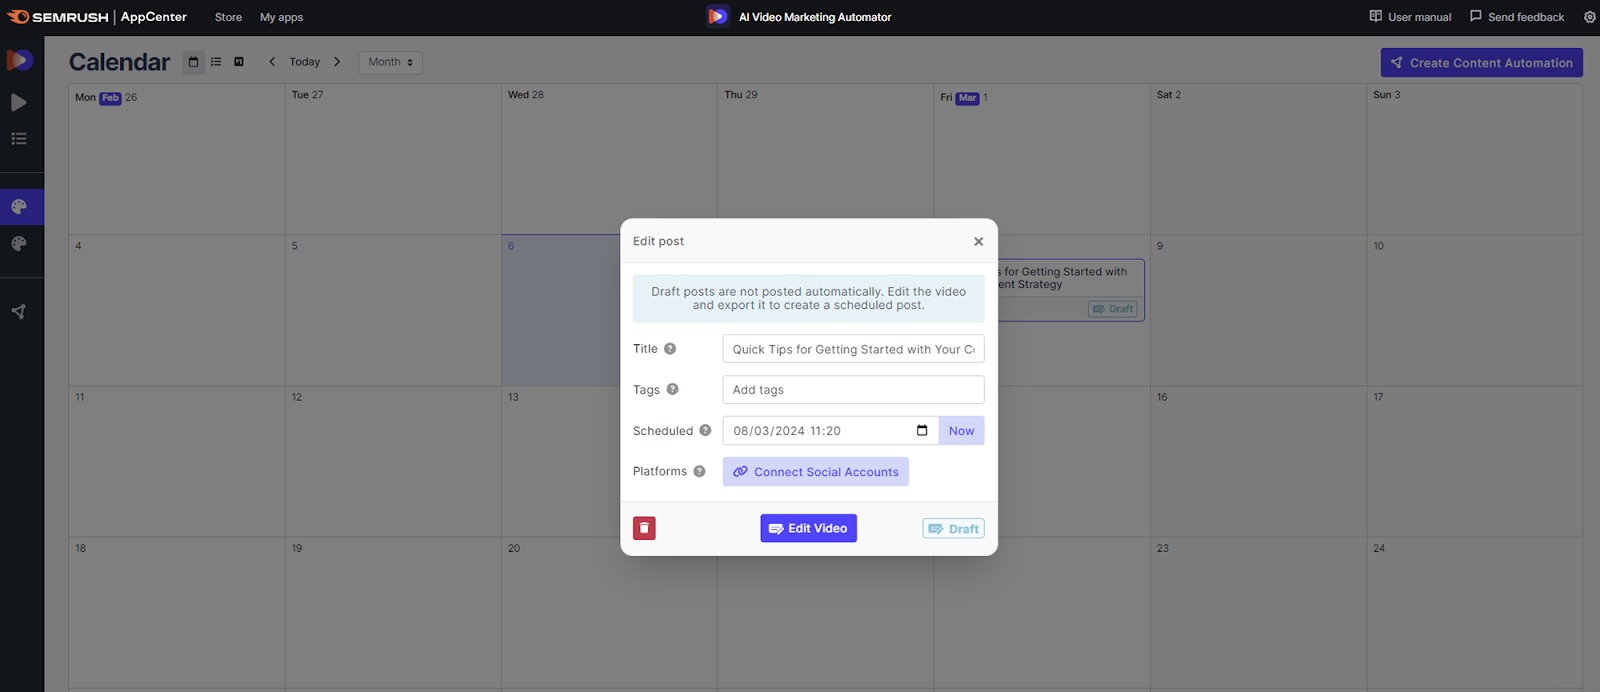
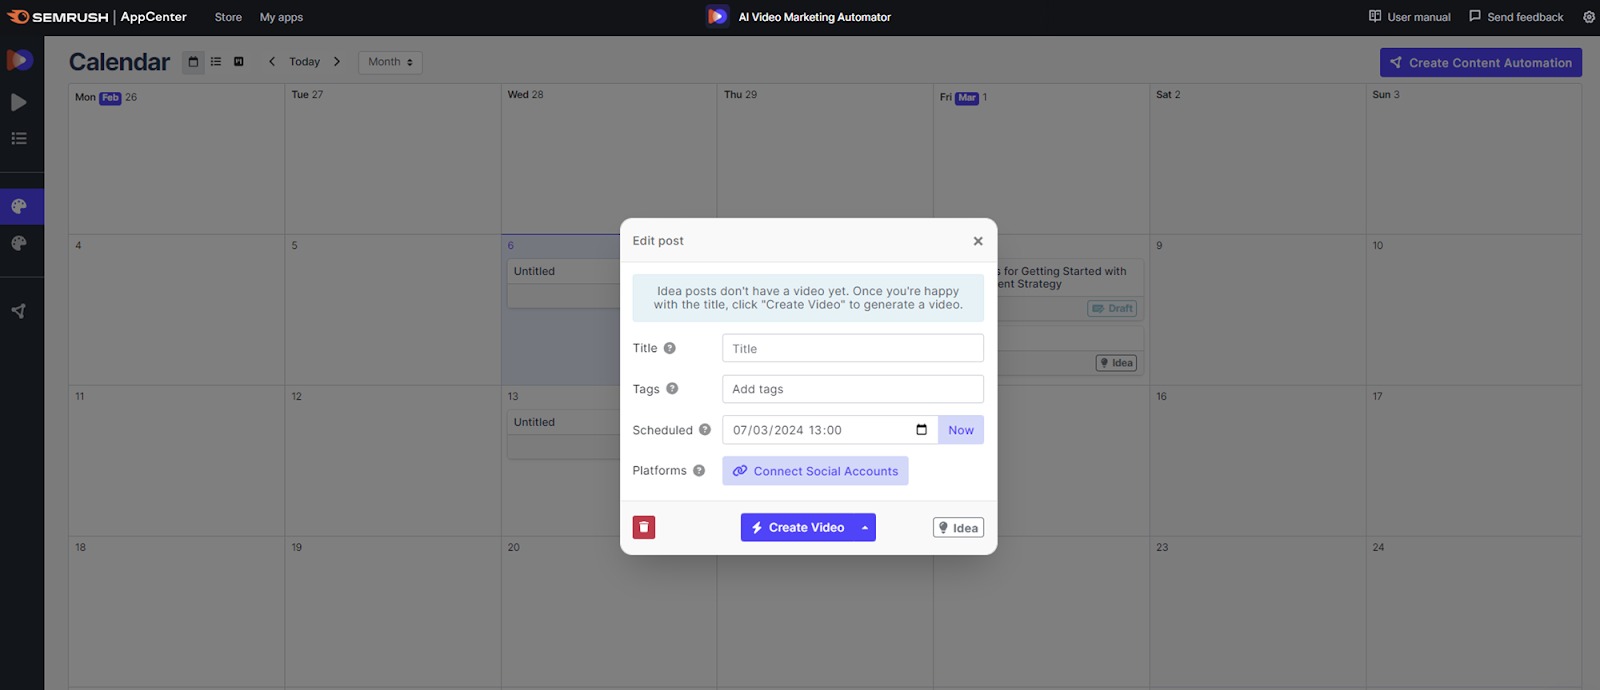
In the Calendar, you can create new video ideas by simply clicking on a date, which will bring up a box for you to input your information before clicking “Create Video” to start the AI Prompt process outlined above.
When a video has been created for a specific date tile, it will be saved as a draft there. Clicking “Export” will start the rendering process—upon completion, the rendered video will be available for reviewing and scheduling. It will show as “Published” when the video has successfully been posted to your chosen social media accounts.
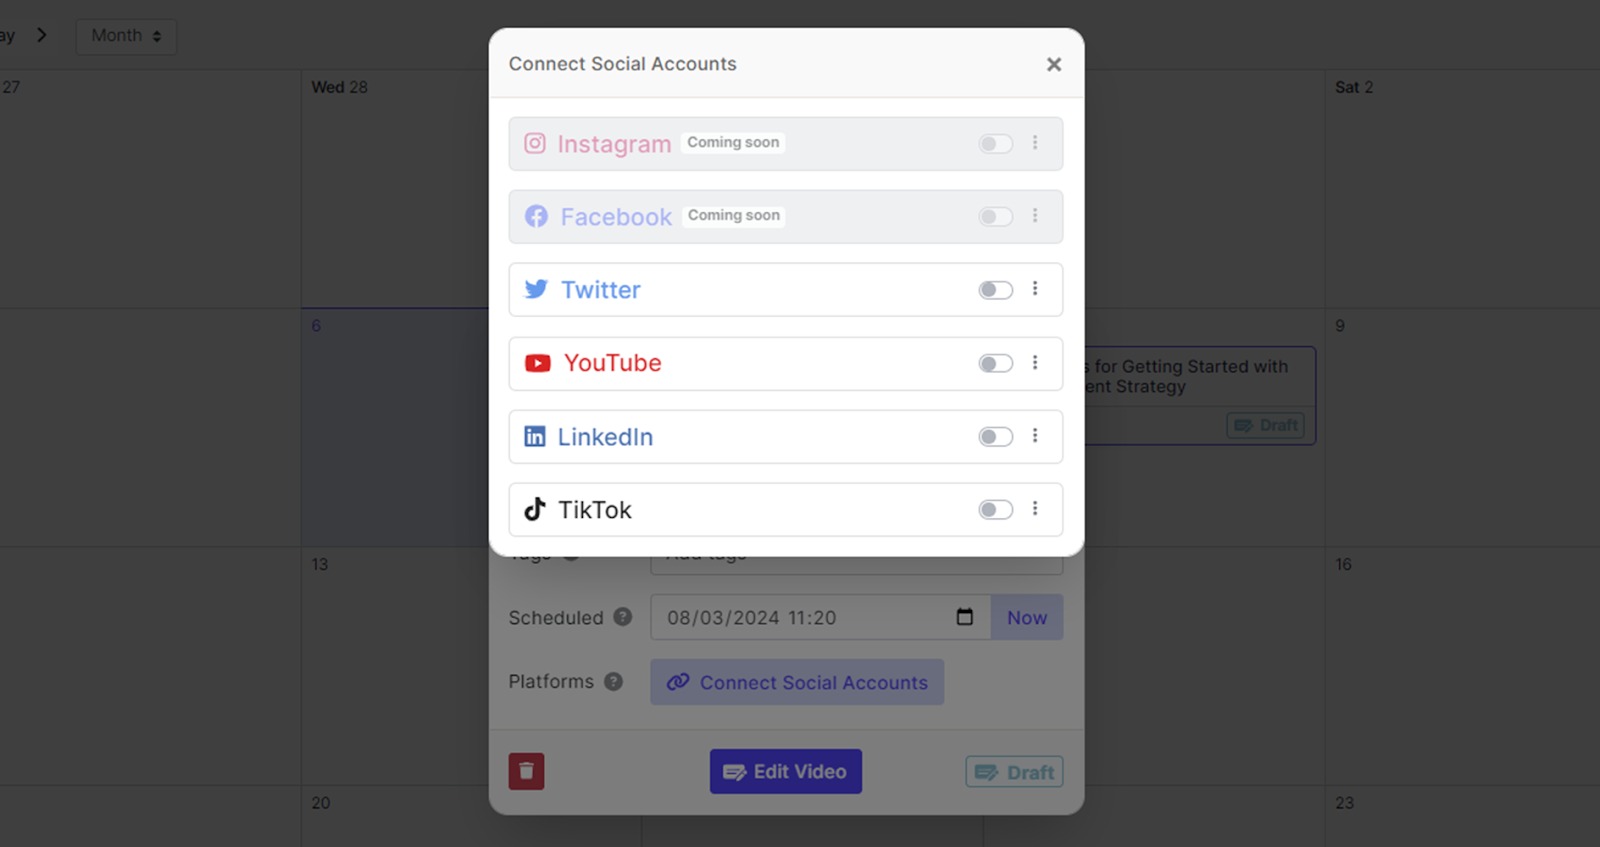
To connect your accounts for use in the Calendar, simply click “Connect Social Accounts” in the pop-up box that appears when you click on any date, and select the platforms you want to link to AI Video Marketing Automator. Alternatively, you can navigate to the Settings section and manage your connections there.
Connecting YouTube, for example, and clicking on a video on a date tile will allow you to edit the title and description of the video before publishing it:
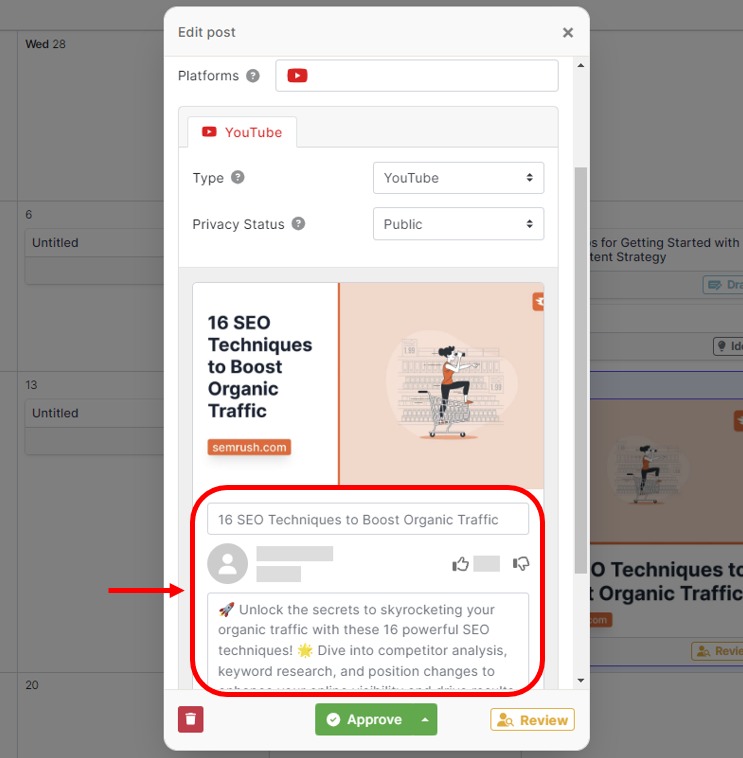
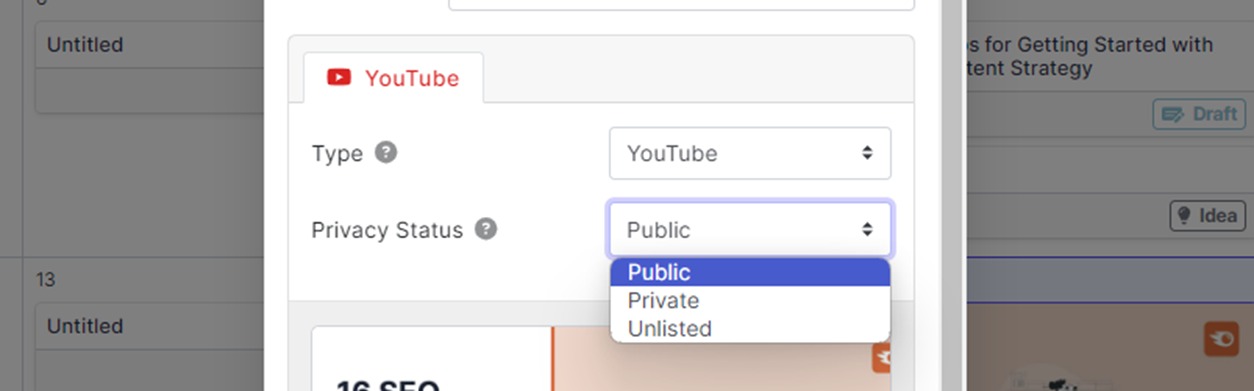
You can also use this box to set the privacy status of your video—it will get automatically published to your YouTube channel via the Content Calendar, but you can choose who will be able to see it on the platform:
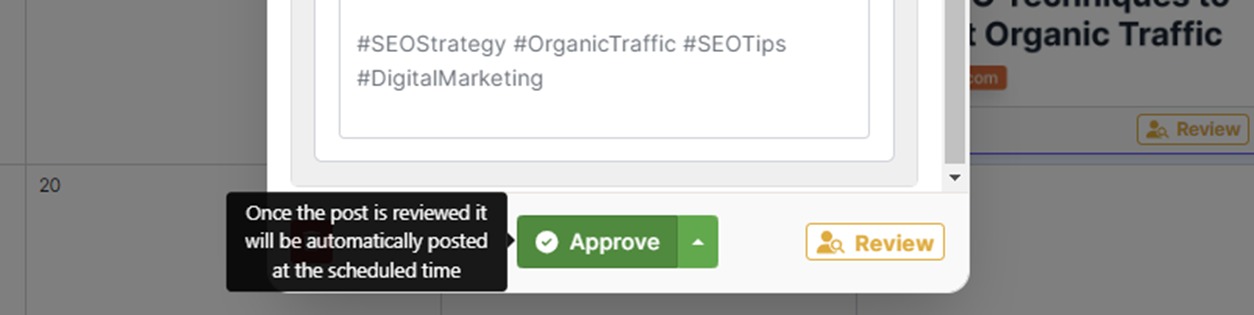
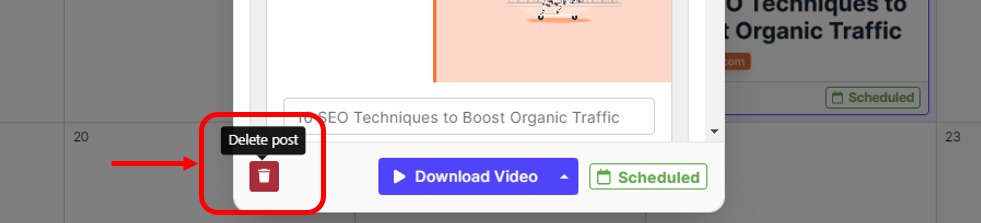
If you are happy with the video, the accompanying text, and the settings for your chosen channel, you can go ahead and approve it for automatic publication at your scheduled time (you can also choose to edit or download the video via the upward-pointing arrow here instead if you’re not quite ready):
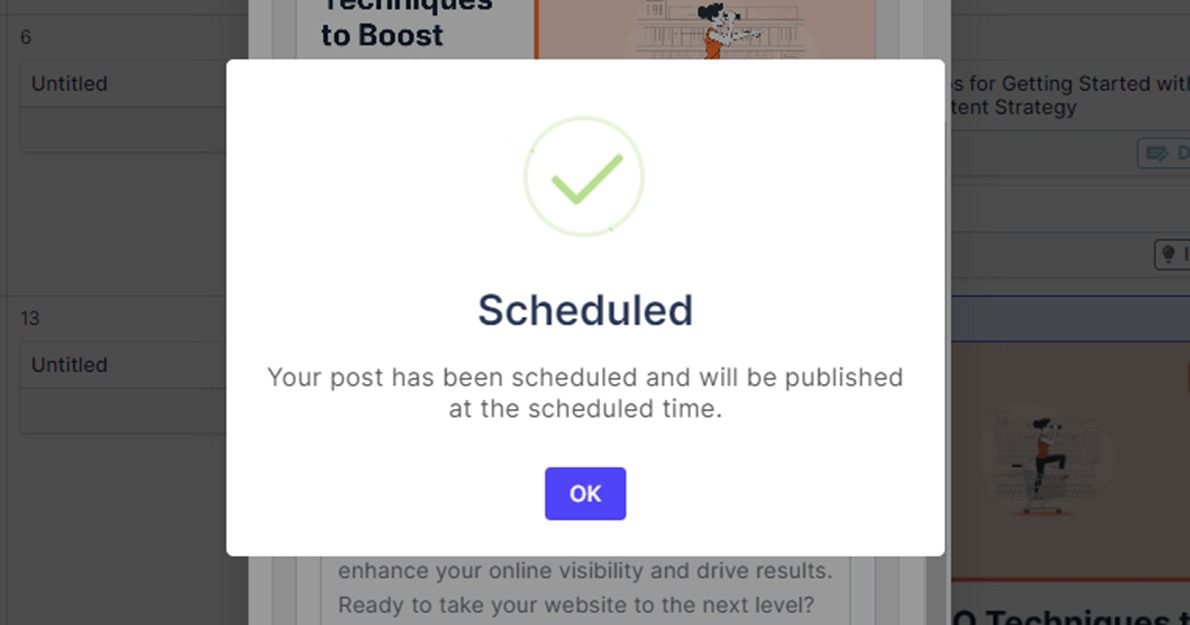
You’ll see a confirmation message once your video has been scheduled for publication—simply click ‘OK’ to dismiss it:
If you change your mind and need to stop the publication for any reason, you can click the trash can icon to delete the post. This will only delete the scheduled post in the Calendar, not the video itself—the video will still be available in the “Your Videos” section in the side bar menu to use, edit, and schedule at a later date.
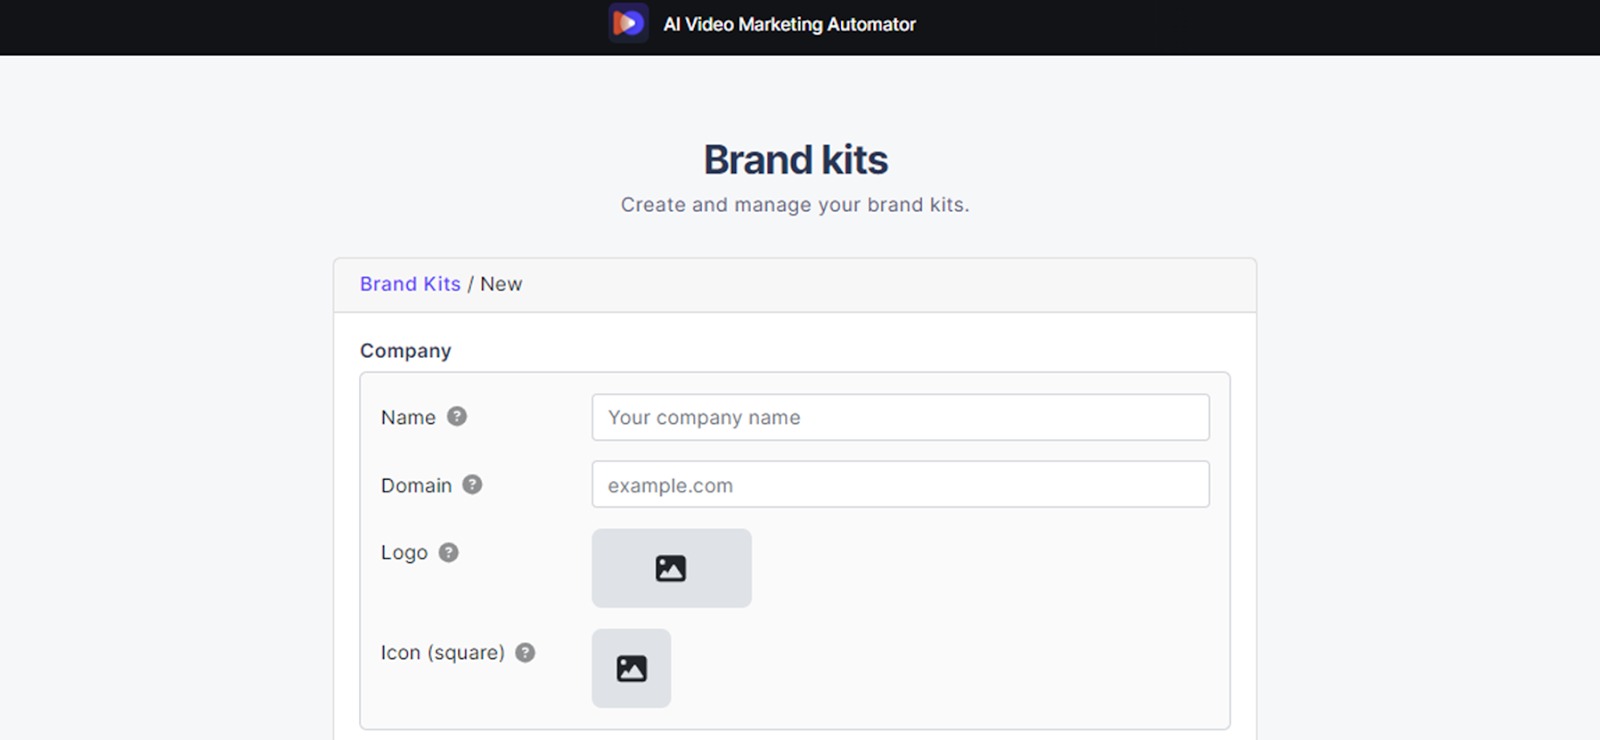
Brand Kits
You will also find the Brand Kits feature under the Content Management section of the app.
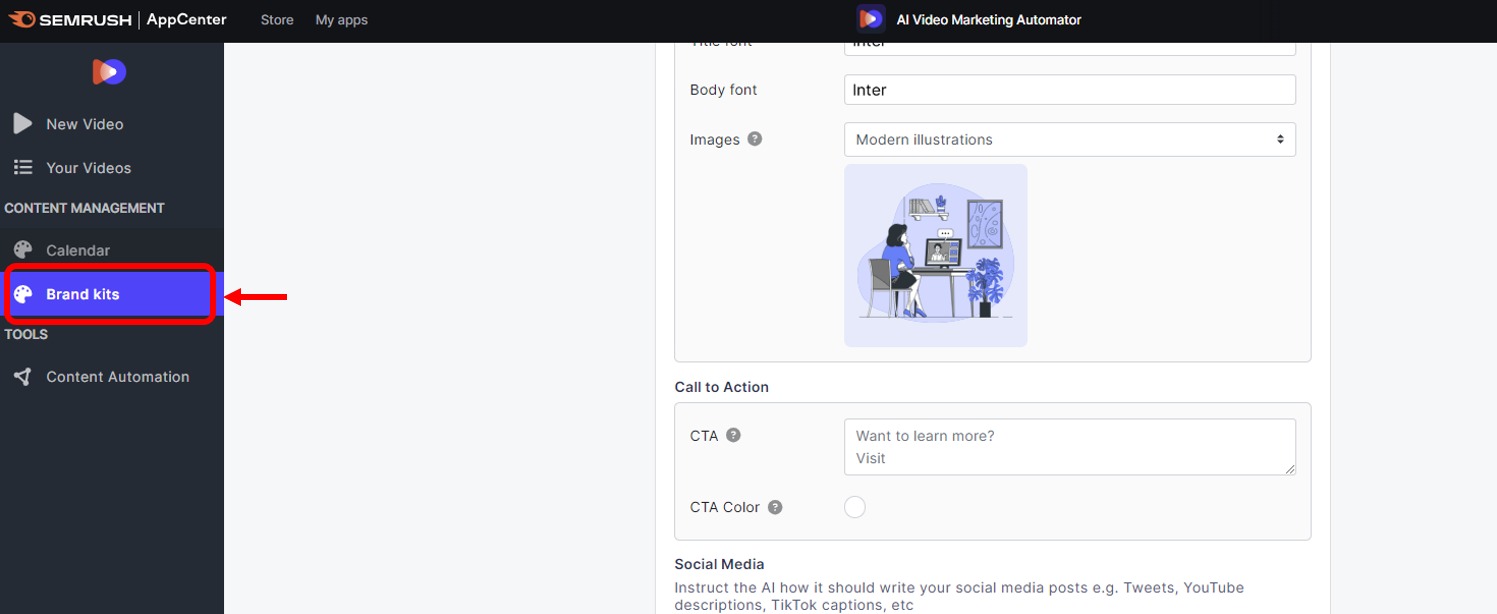
This is where you can choose fonts and add descriptions, logos, colors, tones of voice, CTAs, and social media instructions to help the AI generate on-brand videos. The feature is available to use as part of the “AI Prompt” process when you’re creating a new video.
Content Automation Tools
Under the Tools section of AI Video Marketing Automator, you can start automating your content for bulk creation to fill your calendar for weeks at a time.
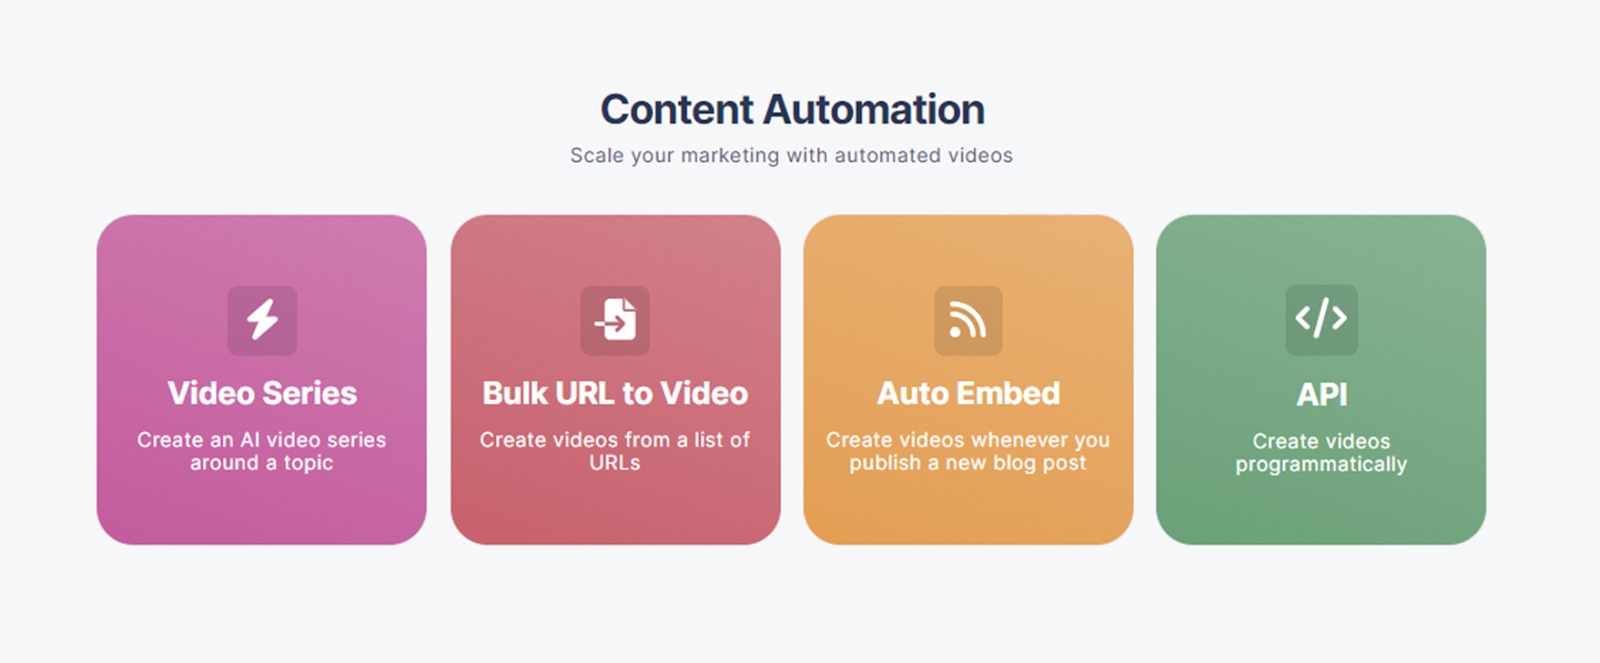
Here, you can choose to:
- Start a “Video Series” based on a particular topic, powered by AI
- Create a batch of videos via “Bulk URL to Video” by providing a list of URLs for the AI
- Create videos whenever a new blog post is published on your site via “Auto Embed”
- Programmatically create videos via the “API” feature
You will need a paid subscription to AI Video Marketing Automator to access these automation features.
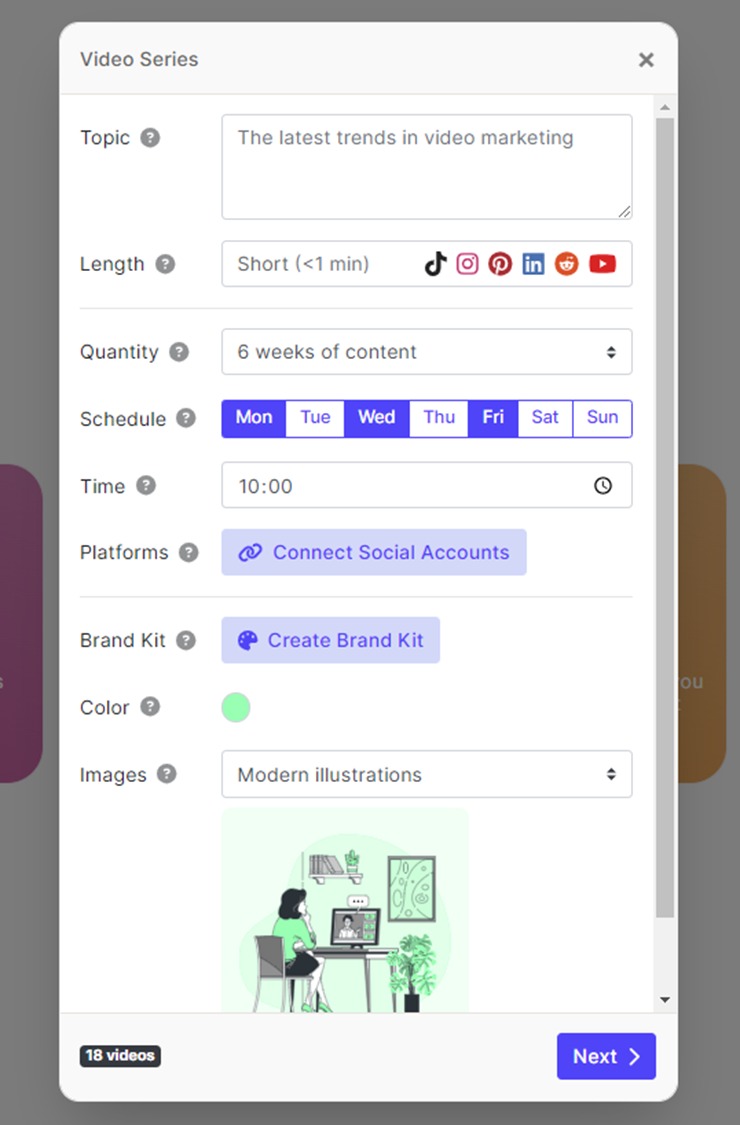
Video Series
This automation allows you to define a topic to create a series about, choose the length of your videos, and select how many weeks of content you want, as well as the publishing schedule for the series across your social media platforms.
Bulk URL to Video
For bulk content creation using AI Video Marketing Automator, you can add up to 50 URLs at a time via a CSV file or a manual list. The AI will then take you to the URL to Video feature to turn your blogs into a batch of videos for you to customize.

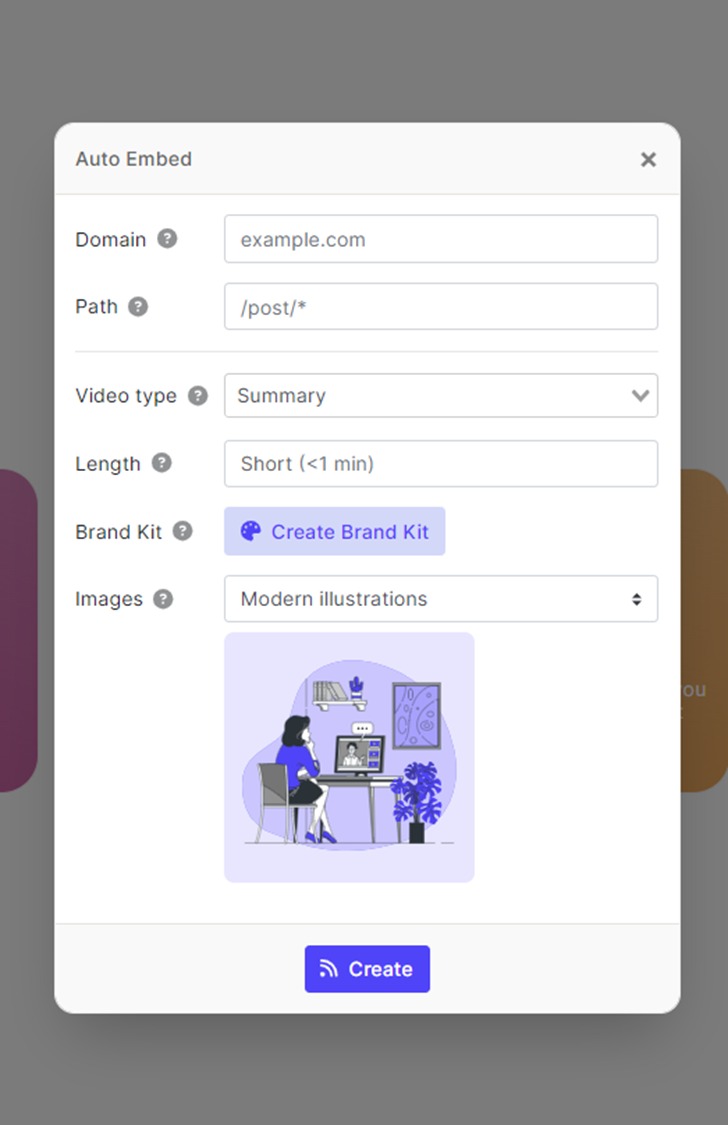
Auto Embed
The Auto Embed tool allows you to automate the AI video creation process every time you publish a new blog post—you can do this by adding some JavaScript to the blog post to trigger the app. The video will get automatically embedded into the post once you’ve reviewed and approved it in AI Video Marketing Automator.
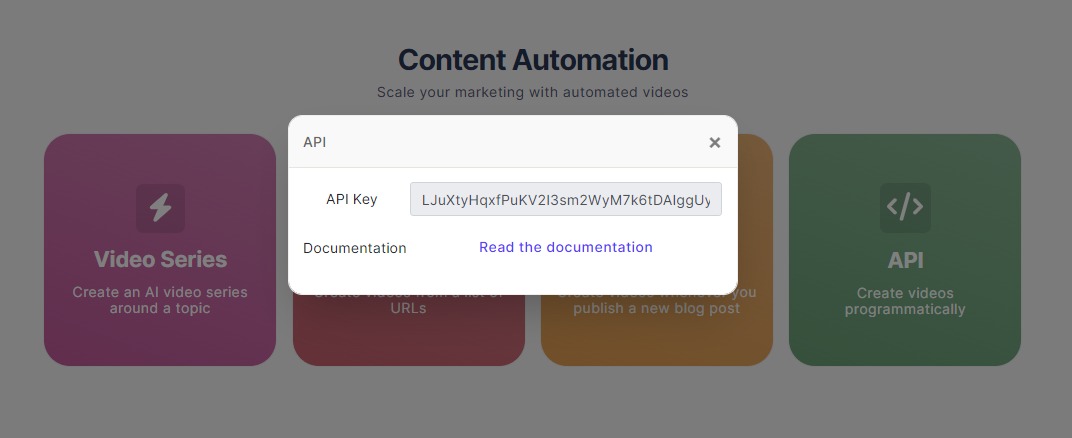
API
The app also provides an API to allow you to create videos programmatically. You can read the documentation via the link in the pop-up box, or in the Settings section of the app.
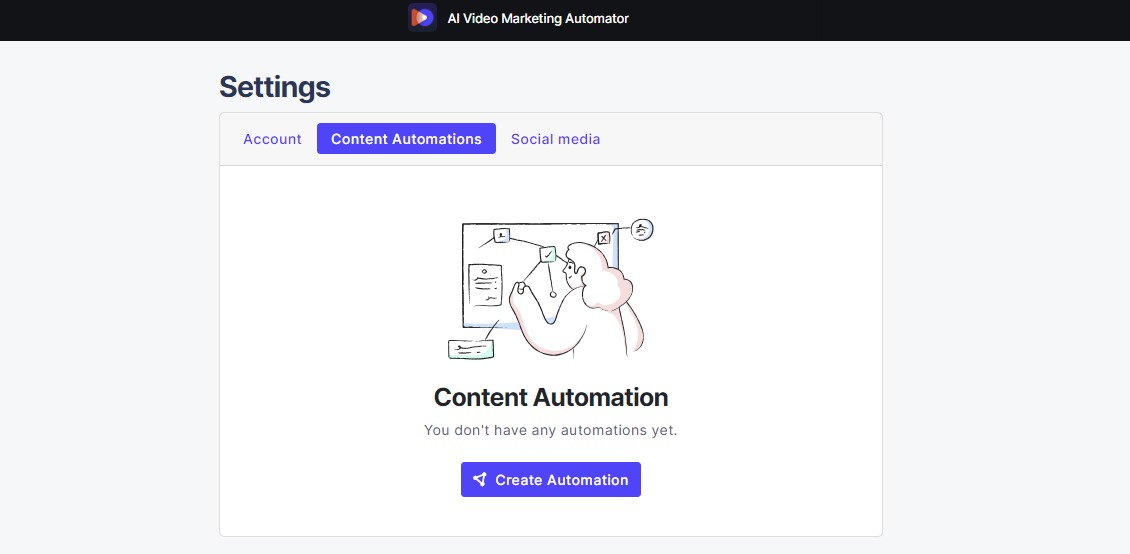
Settings
Navigating to the Settings section allows you to manage the social media accounts you’ve connected and any automations you’ve created within the app. It also contains the API documentation related to the API Content Automation feature.
Frequently Asked Questions
No, your unused credits will not carry over for the next month in AI Video Marketing Automator – they are reset monthly.
If you have other questions about the App Center or the AI Video Marketing Automator app, please contact us at app-center@semrush.com.